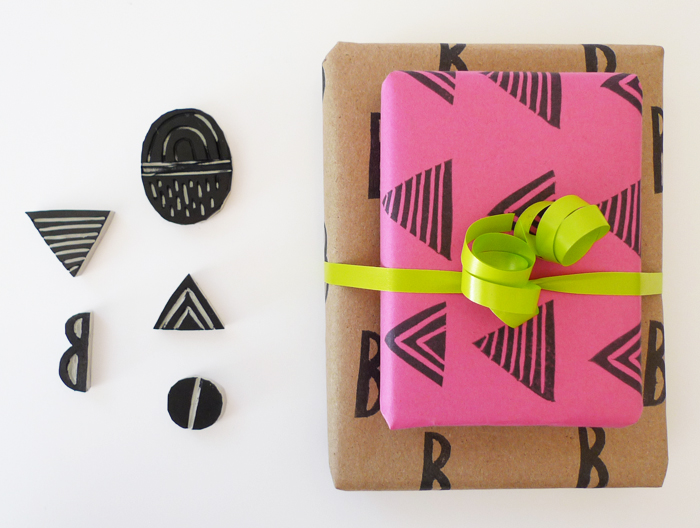
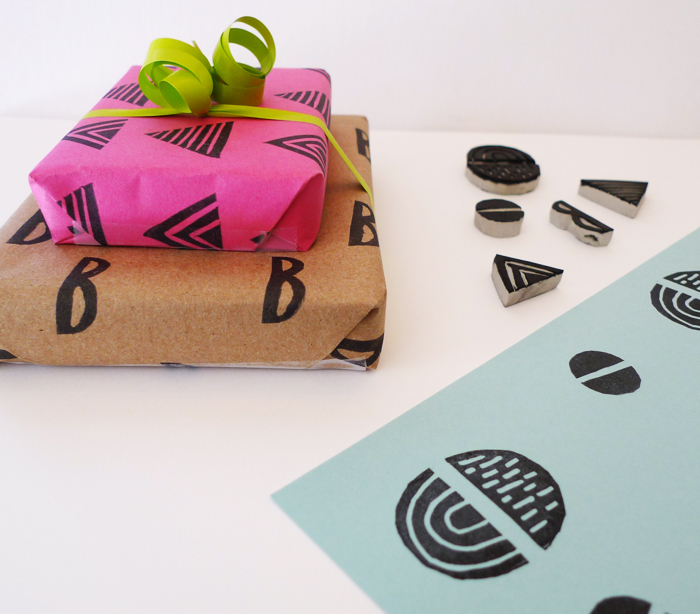
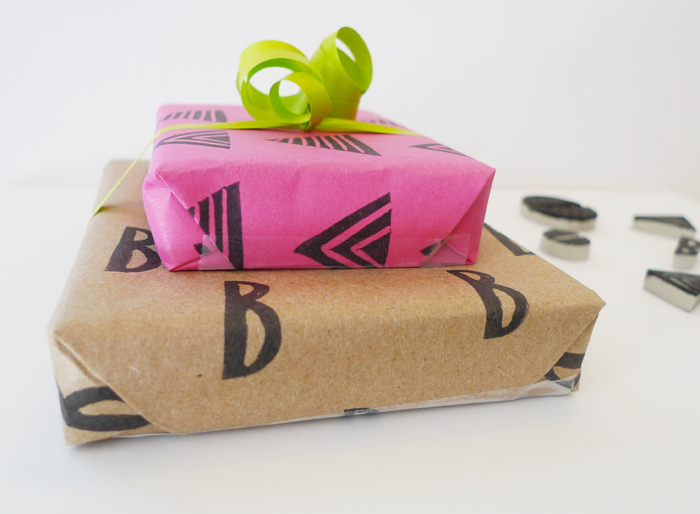
I posted a couple shots of some gift wrap I made a while back, and realized that I could easily do a DIY here on the blog. Stamping your own gift wrap is a fun way to personalize a gift, or to re-use some paper that you might have on hand already. Plus, it’s a great entry-level project for anyone interested in printmaking!
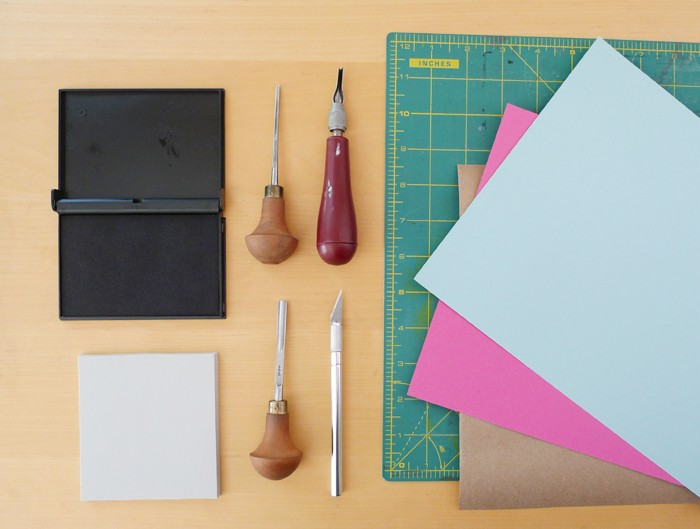
The first step is to gather supplies: I will show you how to hand carve your own stamps using a small block of soft printing linoleum (available at many art and craft stores, the Speedball EZ Cut stuff works great), but you could just as easily use a premade stamp if you want. If you want to do the full DIY, you’ll need:
- 1 block soft printmaking linoleum
- Pencil and paper for sketching design ideas
- Carving tools – Speedball makes an inexpensive set, you could also use a good old X-acto if you’re careful!
- Ink – I’m using a stamp pad for this project, but you could also roll out a little water-based printmaking ink if you have a rubber brayer and a flat glass surface handy to spread out the ink
- Paper – I use anything from regular construction paper, to old grocery bags, or a large roll of blank paper you can purchase at an art, craft, or office supply store
*Author’s note: I only recommend products that I love and use in my own studio. I may receive a small commission on sales of the products that are linked to in my posts.
Find a large clean surface to work on. I like to put down my safety cutting mat first, since I don’t want to damage my worktable while I’m cutting the linoleum. Before start cutting my stamp, I like to pencil sketch a few ideas for shapes I’d like to create. Keep in mind the size of the gift you’ll be wrapping. Perhaps design a larger shape for a larger gift, which would require more paper, and a smaller shape for a smaller gift.
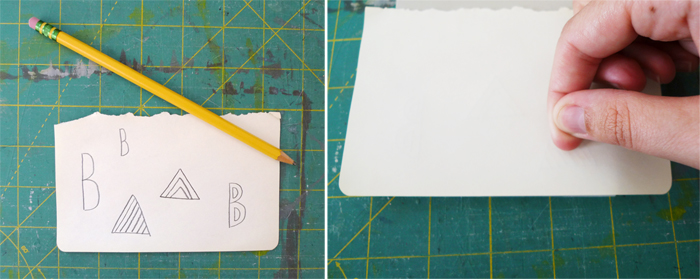
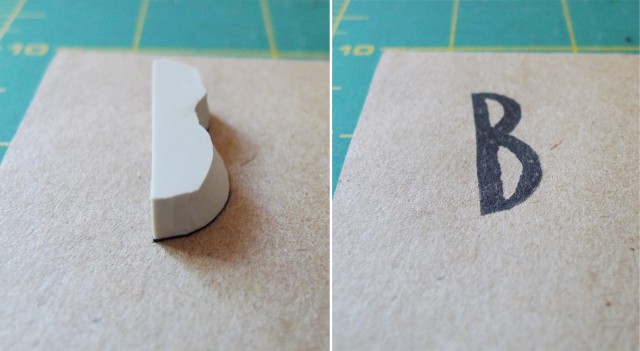
Once I’ve chosen a design, I place my pencil sketch face down on the linoleum block, and rub the back with my fingernail to transfer the image. Keep in mind that the image will reverse when printed, so don’t worry if it doesn’t look quite right at first. When you are carving a stamp, the parts you carve away from the block will not print. The stamp will consist of whatever flat surface you leave behind while carving.
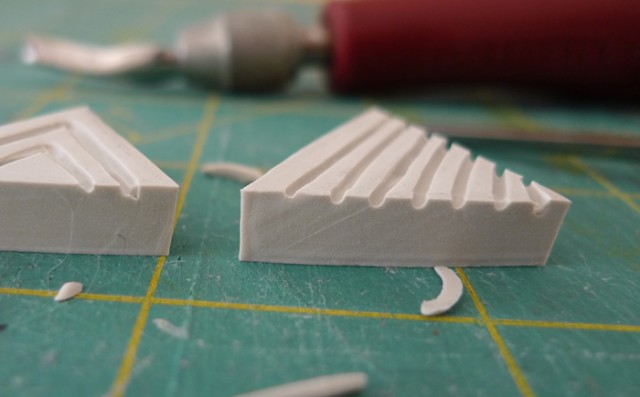
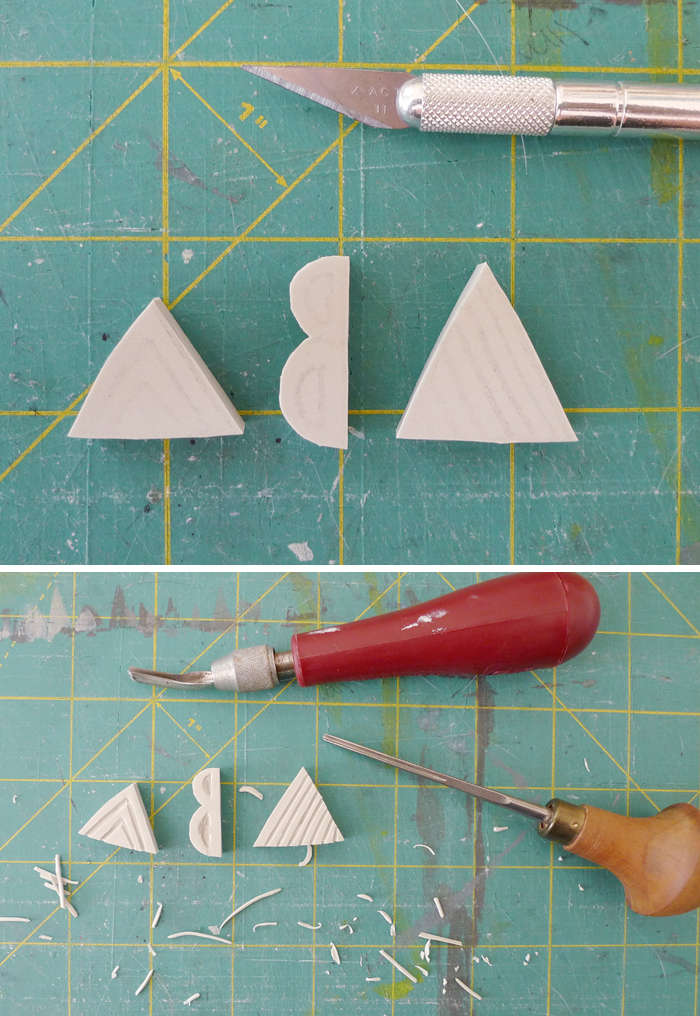 I begin by carving the outline of my shape with an Xacto knife, then start to carve the details with my carving tools. Carve the block by pushing your carving tools along the surface away from your body. Be careful not to keep your fingers in front of the blade, that’s the fastest way to accidentally cut yourself! Use light pressure and don’t force anything, the linoleum is soft, and will easily give way when you push your carving tool along the surface of the block. Experiment by carving larger or smaller shapes to see the variety of textures you can create.
Once you have a stamp you’re happy with, throw away any stray bits of linoleum, dust off your workspace, and get ready to print!
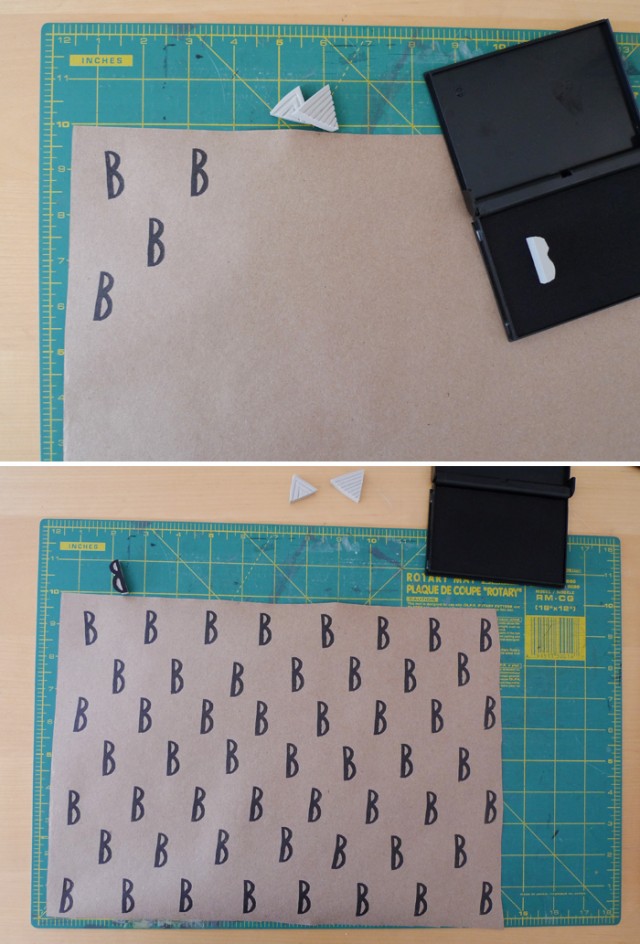
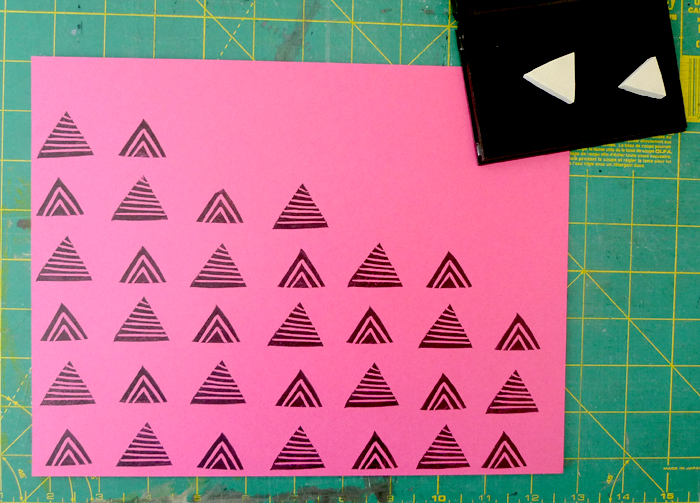
Cut out a piece of paper large enough to wrap your gift, and lay it face up on your work surface. Ink up your stamp by pressing the stamp to an ink pad a couple of times, then press the stamp to the paper in whatever arrangement you prefer. I like to do a simple repeat pattern, but random arrangements are fun, too. Try using a couple different colors of ink, or mix two or three stamps into one design!
The gifts I wrapped were small, so keep in mind you can go much larger with this project. You could also use your stamps to make a patterned gift tag or a small card to accompany a gift, and mixing patterns and colors can create a fun combination. I’d love to see any stamped or printed papers you make, so feel free to share in the comments if you tried this project.

