• Skip to primary navigation
  • Skip to main content
  • Skip to primary sidebar
  • Skip to footer

Blog - Cotton & Flax

  • Shop
  • Fabric
  • Workshops
  • About
  • Contact
  • Navigation Menu: Social Icons

    • Facebook
    • Instagram
    • Pinterest
    • Twitter

Erin Dollar

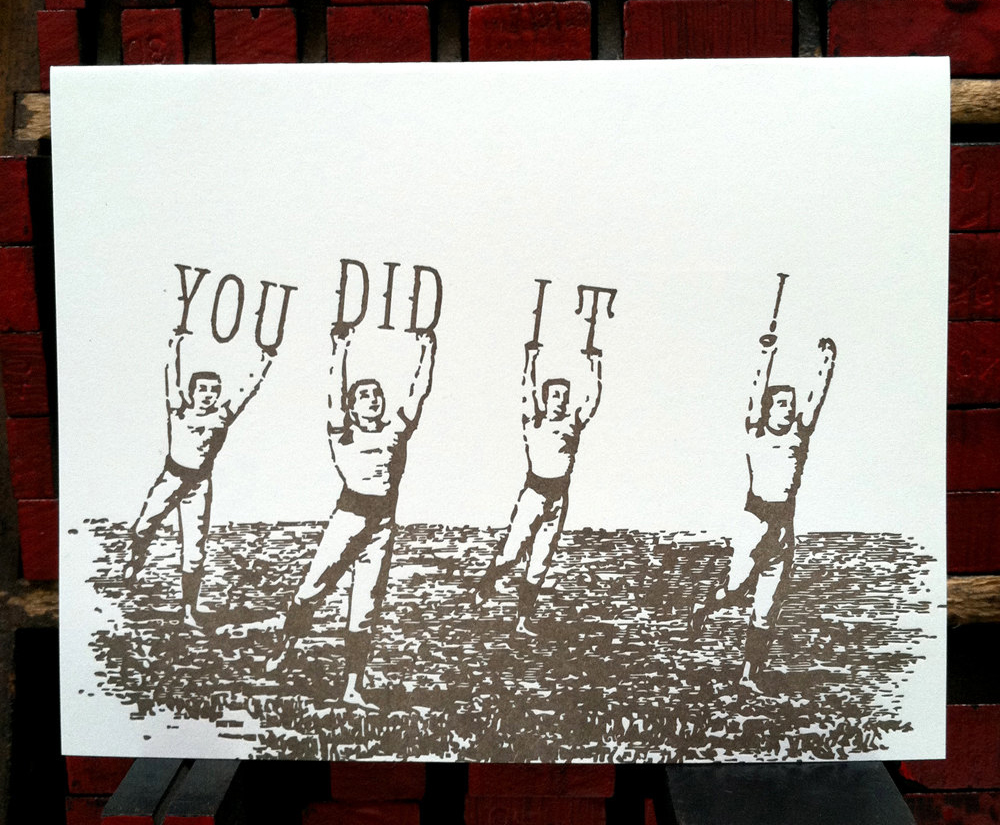
Print of the Week – Letterpress prints from Power and Light Press

October 26, 2012

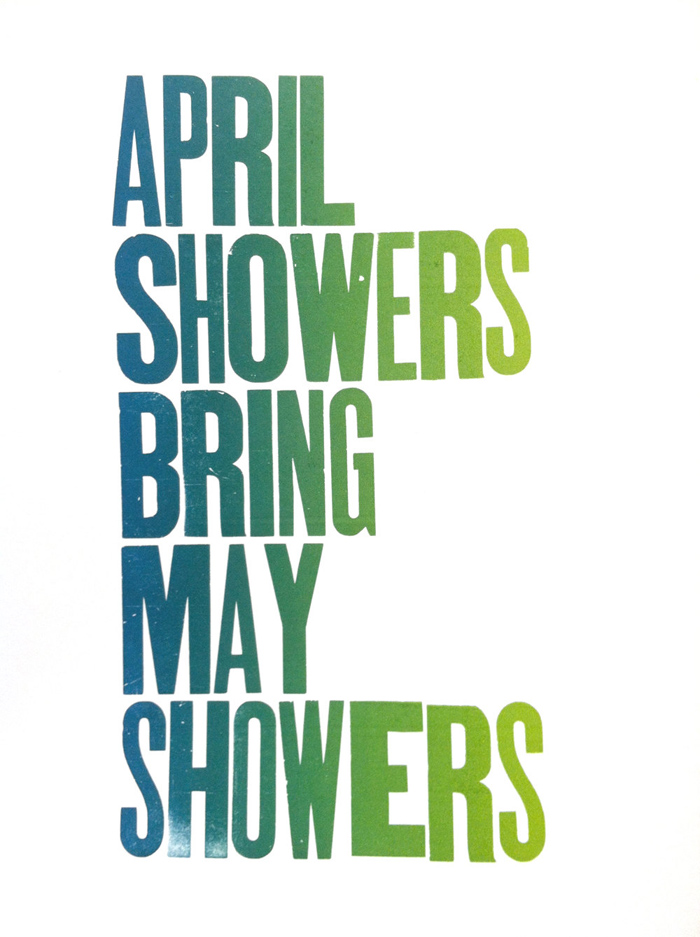
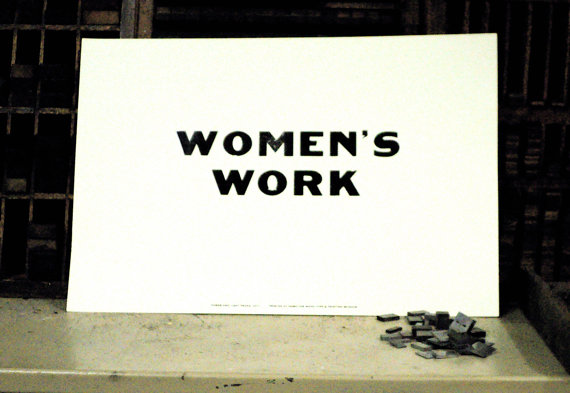
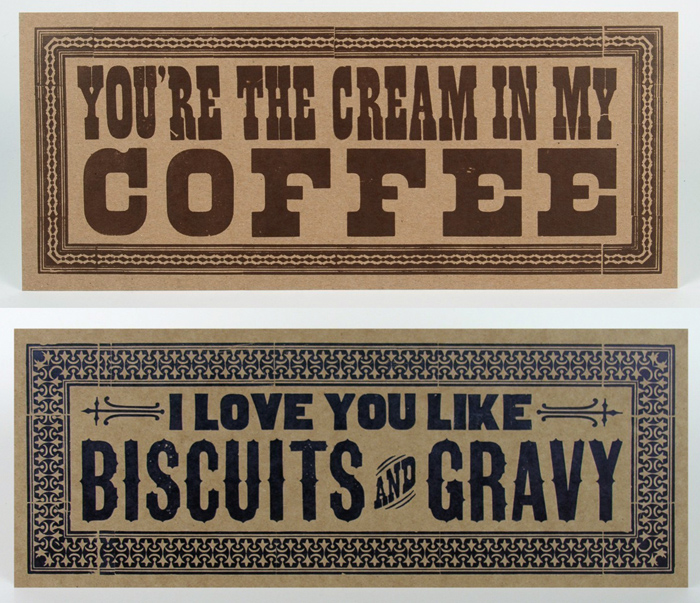
Kyle Durrie is the proprietor of Power and Light Press, and an all around cool lady. Besides making these awesome letterpressed cards and prints, all of which make me chuckle, she also runs Movable Type, cross country adventures in printing. She’s the lady in charge of the Type Truck, a mobile print studio that she created by turning a 1982 Chevy step van into a fully functional letterpress print shop. Check her blog to see if she’s bringing her awesome mobile print shop to your area anytime soon*, it’s not to be missed.

*For those of you in Los Angeles, the Type Truck will be hosting an event at Poketo this Monday, October 29th called “Type or Treat!” It sounds like it’s going to be amazing:  besides simply witnessing the art of letterpress printing via Moveable Type’s Letterpress truck, there will also be free limited-edition prints and Halloween masks using artwork from artists Kate Bingaman Burt, Michael Hsiung and Kim West. There is also talk of free donuts. RSVP here.

Filed Under: Inspiration Tagged With: printmaking

My favorite supplies and tools

October 23, 2012

I wanted to take some time to talk about the supplies and tools I use to create items for the Cotton & Flax shop. All artists and crafters develop their own affinities with different brands and types of supplies, and I wanted to share the ones that I turn to again and again.

Ink

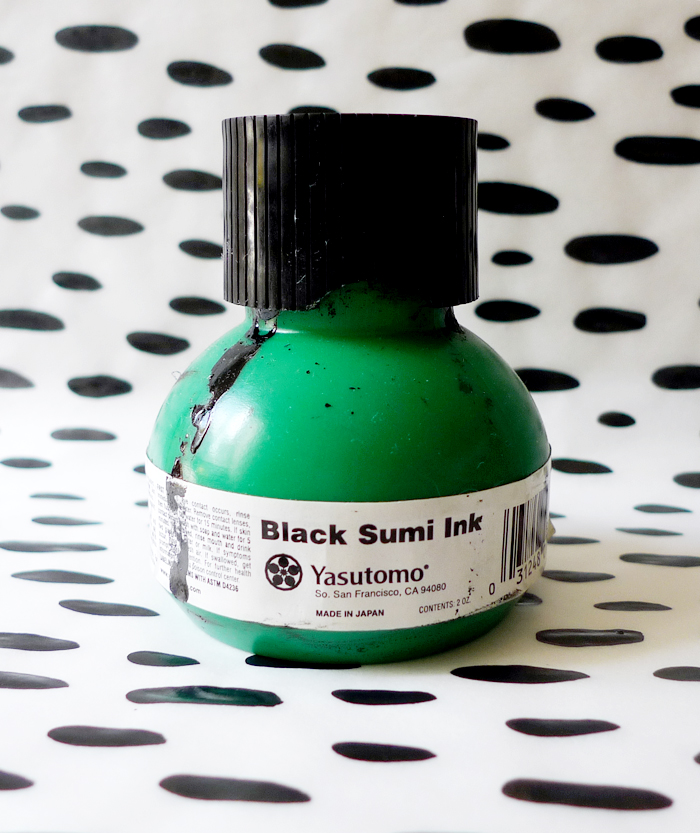
Every pattern in the Cotton & Flax line begins as either an ink drawing, or a pattern that I’ve created with a hand-carved stamp. When I am creating an ink drawing, I always turn to my trusty green bottle of Yasutomo Black Sumi Ink. I love the consistancy of this brand of ink, and for whatever reason, it seem to always dry darker and sharper than other brands I’ve tried.


Sewing Machine

I use a Janome Travel Mate sewing machine to do much of the sewing for the Cotton & Flax shop. It may surprise you that I don’t have an industrial sewing machine setup, but I am quite attached to my Janome (notice the stickers and washi tape I’ve put on it?) and I can’t imagine getting rid of it anytime soon. It was a gift from my mom, and it’s the same model that she used to teach me how to sew when I was younger. Call me sentimental, but my Janome sewing machine has proven to be a resilient little workhorse.

Looking for something similar? The Janome HD1000 is almost the same machine, and still built with steel inside so it’ll last for a long time.


Thread

I am a diehard supporter of Gutermann thread. It’s not the cheapest option, but I’ve found that it is much stronger than other brands I’ve tried. I love that they make a cotton thread, which helps get me just a little bit closer to making a fully sustainable product. Plus, it comes in an amazing rainbow of colors, who doesn’t love that?

To all you artists/makers out there: do you have a favorite supply or tool that you return to again and again?

Filed Under: Behind the Scenes Tagged With: sewing

DIY Printed Envelope Liners

October 22, 2012

Did you happen to see Heather Ross’ DIY Envelope Liner project on the Etsy blog recently? I was totally inspired to try something similar, but instead of using a premade pattern, I wanted to create my own! I’ll walk you through the steps of using hand carved linoleum stamps to print your own envelope liner, which is sure to impress any pen pal, and could even be used to create personalized stationery or wedding invites!

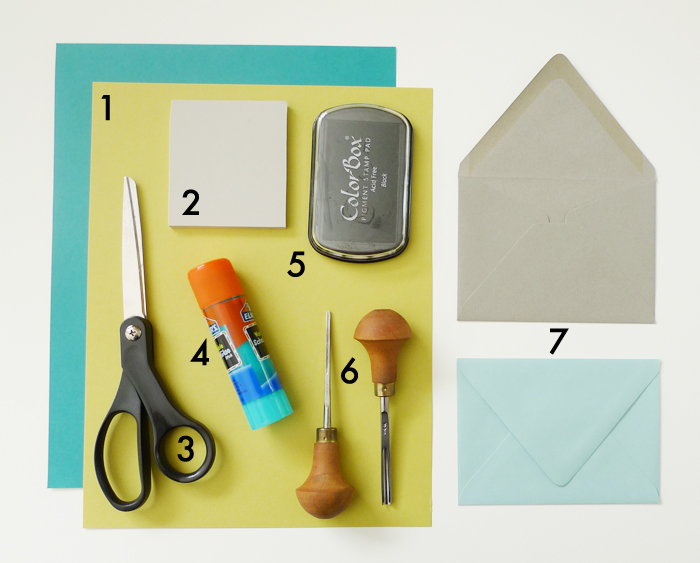
Materials:

  1. Text-weight colored paper that compliments your envelope
  2. Linoleum printing block
  3. Scissors
  4. Acid-free glue stick
  5. Stamp pad
  6. Carving tools and Xacto knife
  7. Envelope with a pointed flap (I used 4 bar size envelopes for this project)

*Author’s note: I only recommend products that I love and use in my own studio. I may receive a small commission on sales of the products that are linked to in my posts.

DIY Envelope Liners

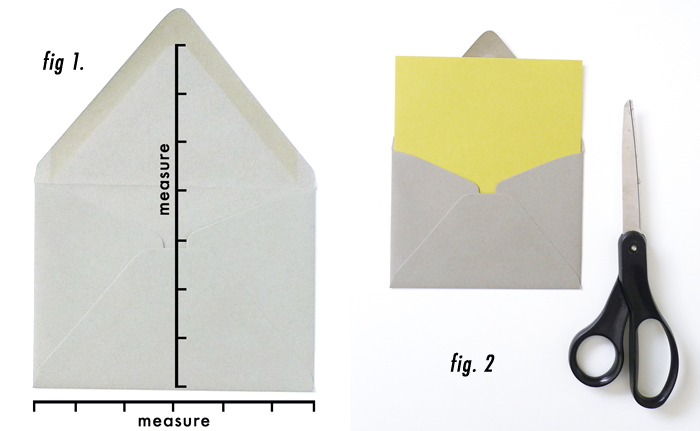
Begin by trimming the blank paper to size. First, unfold the top envelope flap, and measure from the center of the bottom of the envelope to just under the glue on the top of the flap. Then measure the width of the envelope (see Fig. 1). Trim your paper to accommodate this size. Slip the piece of paper into the envelope to test if it will fit (it should look like Fig. 2).

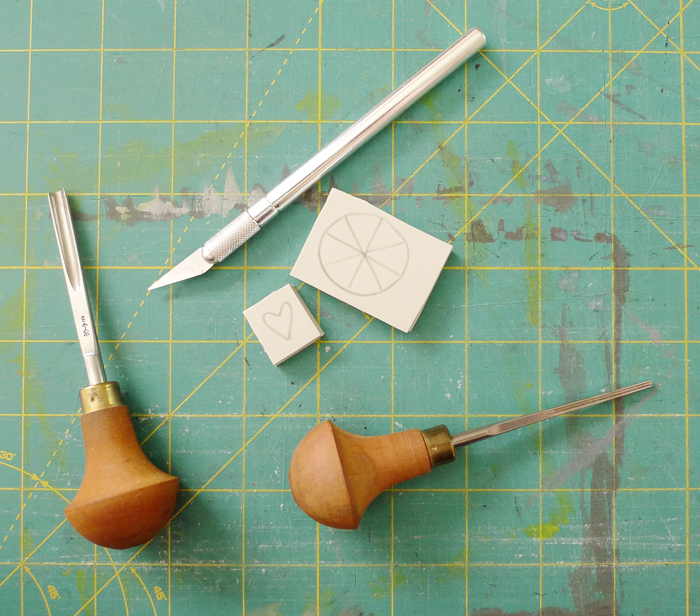
Carve your own stamps

Next, create a stamp that you’d like to use for the pattern inside the envelope. If you’ve never carved a linoleum stamp before, I covered the basics in my gift wrap stamp tutorial. You can sketch out a design on a piece of paper, or just draw an idea directly onto the linoleum block with a soft pencil. Keep in mind that carved areas will not print, and that your design will print as the reverse image of what you carve. Safety tip: always push the carving tools away from your body, and be careful not to keep your hand in front of the knife (you don’t want to knick a finger!)

Carve your own stamps - Cotton & Flax

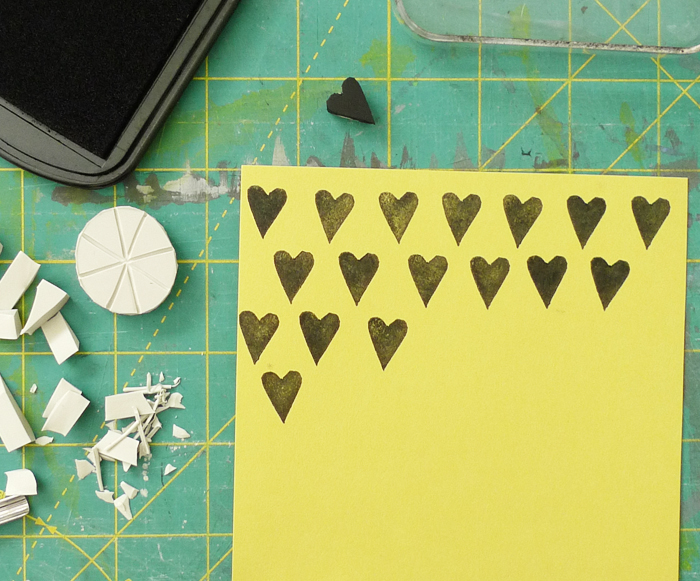
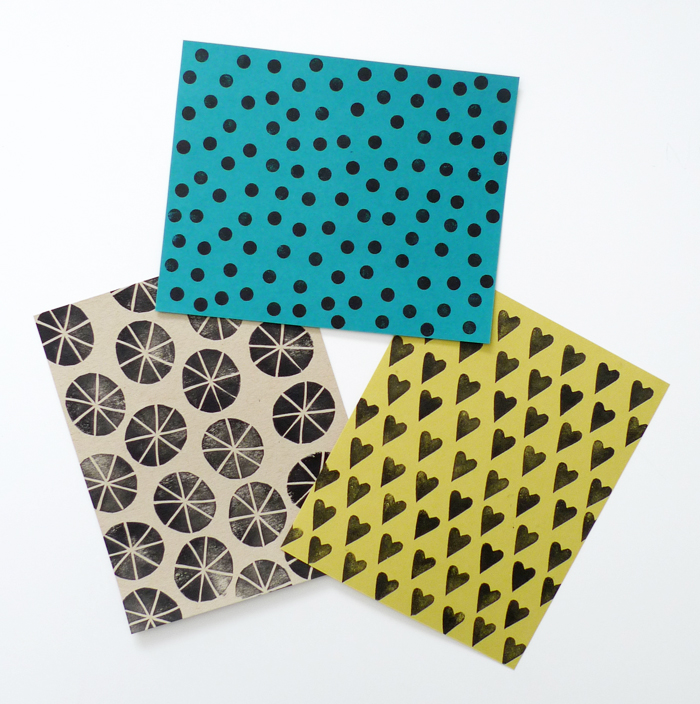
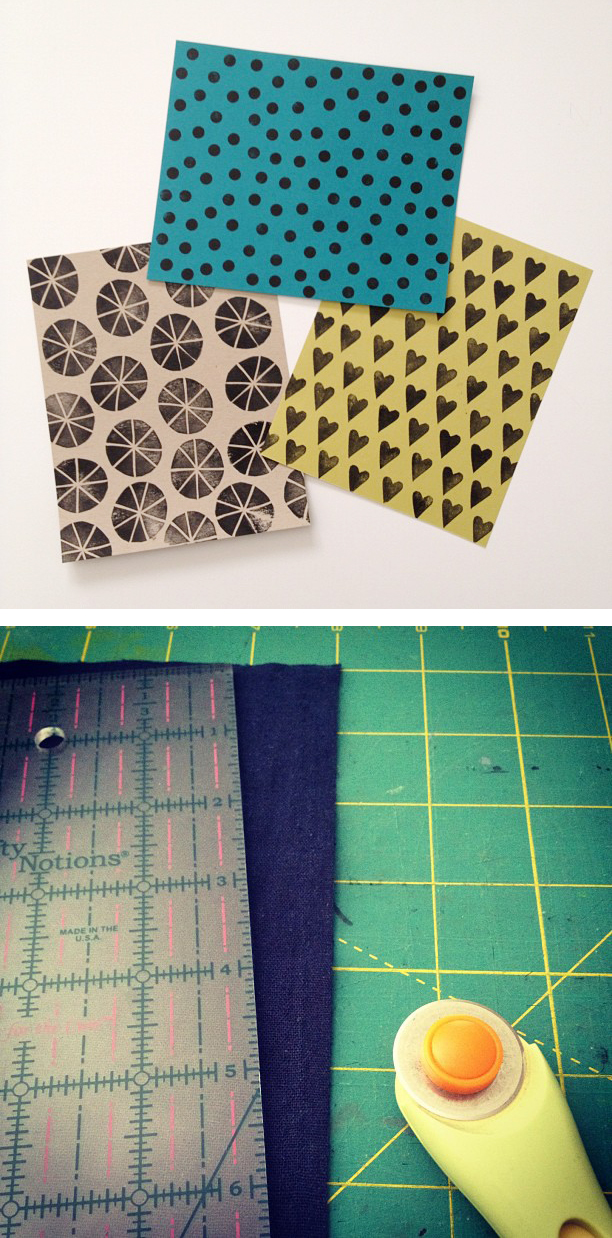
Play around with size and scale, see if you prefer the look of a larger design, or a very small design. You’d be surprised how much a simple polka dot can jazz up a plain envelope. Stamp your design onto the liner paper using the ink pad, either in a uniform pattern, or completely randomly! I like to mix it up and try a few different variations. You can even combine two or more stamps into one design. Allow the ink on the liner to dry before continuing.

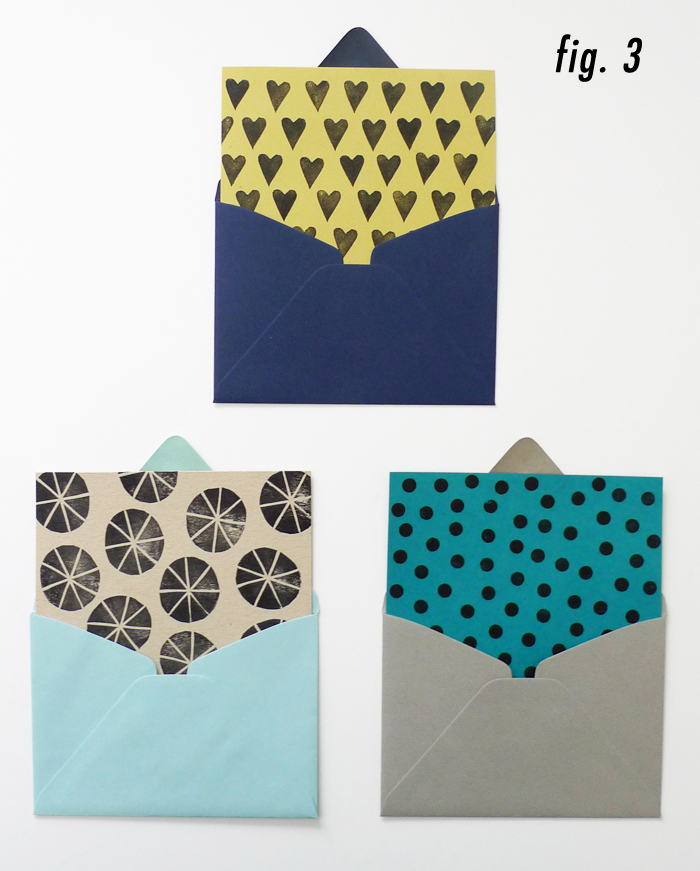
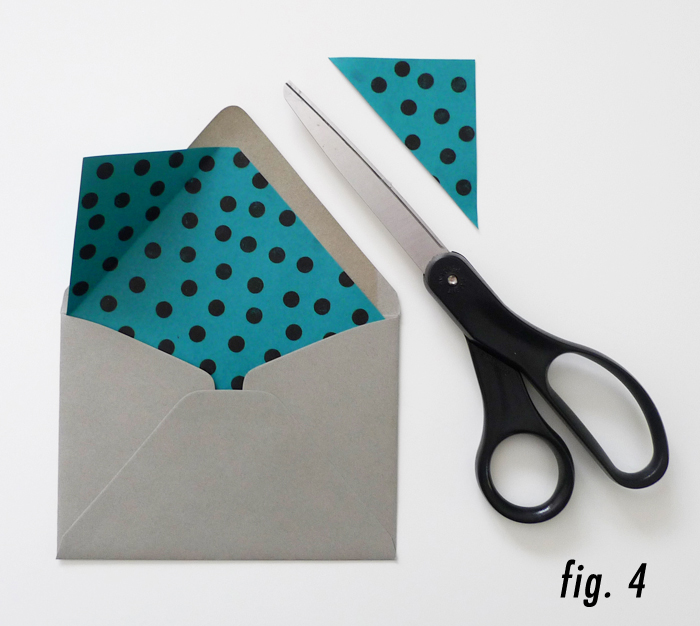
Slip the freshly printed liner paper into an envelope, with the printed side facing out (see fig. 3). Fold down the top corners of the liner on both sides so that the folded edges run just below the glue line on the envelope. Remove the liner from the envelope, and cut off the corners along the creases (see fig. 4). You can also cut a rounded corner at the tip, to make it look even more professional.

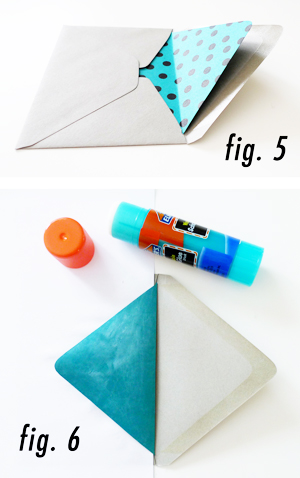
DIY Envelope LinersInsert the liner back into the envelope, and fold down the envelope flap. This will crease the liner at the fold (see fig.5). Lift up just the envelope flap, leaving the liner in place.

Slide a piece of scrap paper under the liner to protect the outside of the envelope from glue (see fig. 6), and use a glue stick to apply glue to the edge of the liner (note that it is only necessary to glue the liner’s flap). Close the envelope flap over the liner and press firmly to adhere the liner to the flap. Remove the scrap paper.

You now have a completed, lined envelope. Be careful when you seal the envelope, you don’t want to lick your stamped liner (or get a papercut on your tongue, ouch!)


Feeling inspired? Check out my other block printing DIY projects!

Ready to dive in to the world of printmaking? Check out my screenprinting class on Creativelive!

Filed Under: DIY Tagged With: diy, printing, snail mail

Snail Mail Saturday – Vintage Postcards

October 20, 2012

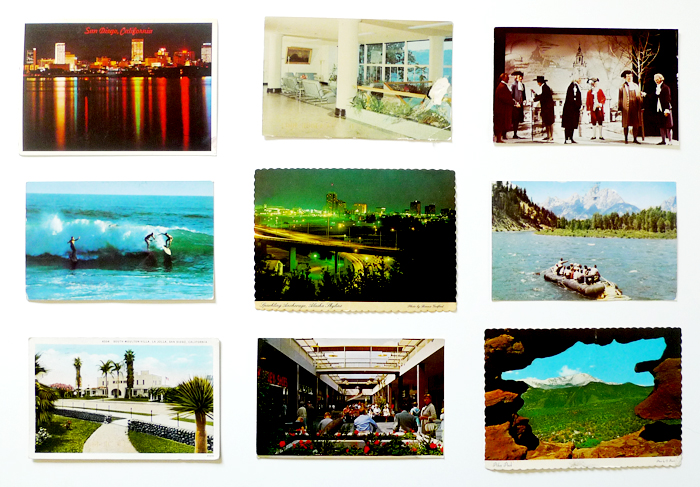
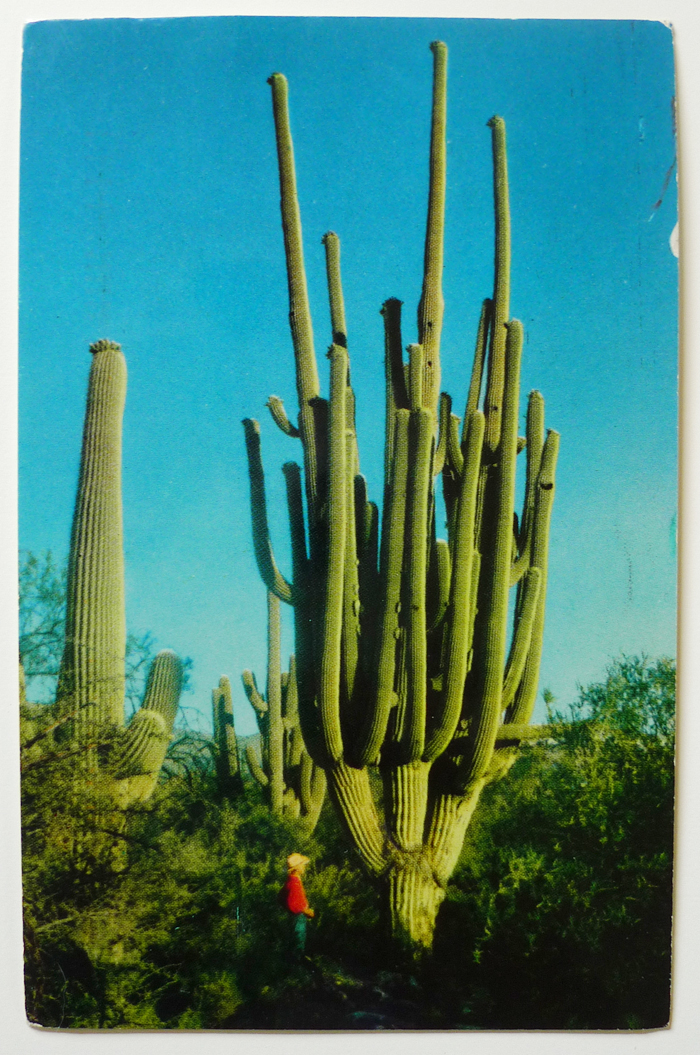
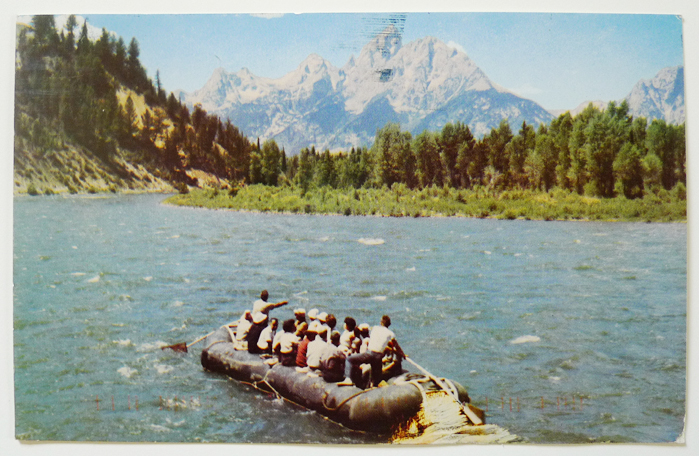
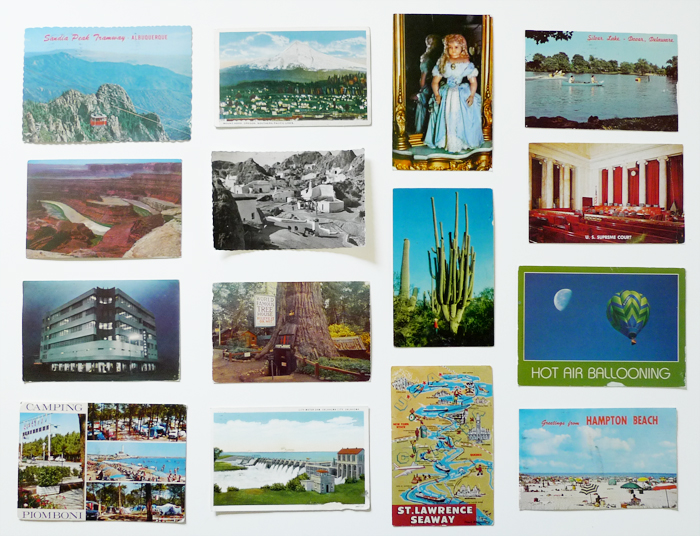
My friend Scott is an amazing pen pal, and is always sending me awesomely kitschy vintage postcards, which are too strange not to keep. He’s sent me dozens over the years, all of which I’ve kept, and many of which I’d even consider framing!

Believe it or not, this is just a small fraction of what he’s sent me over the years. I don’t know where he finds them all, but I know many of them come from flea markets or vintage shops. I love shopping for vintage postcards at the Pasadena Rose Bowl Flea Market, there are always lots of postcard vendors there.

Filed Under: Inspiration Tagged With: snail mail

Print(shop) of the Week – YeeHaw Industries

October 19, 2012

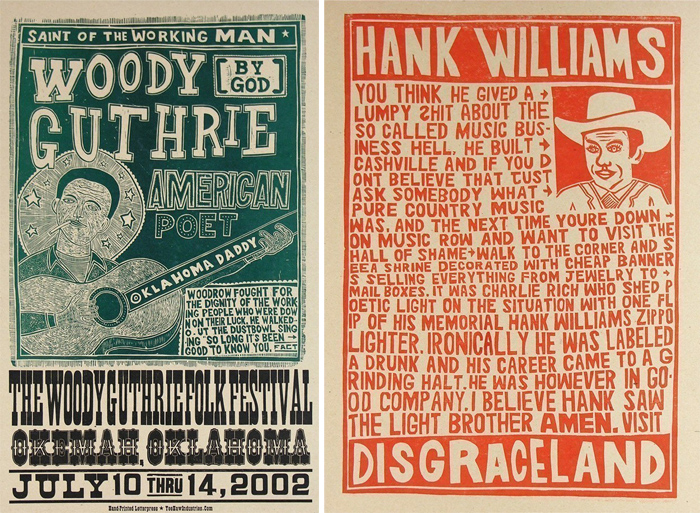
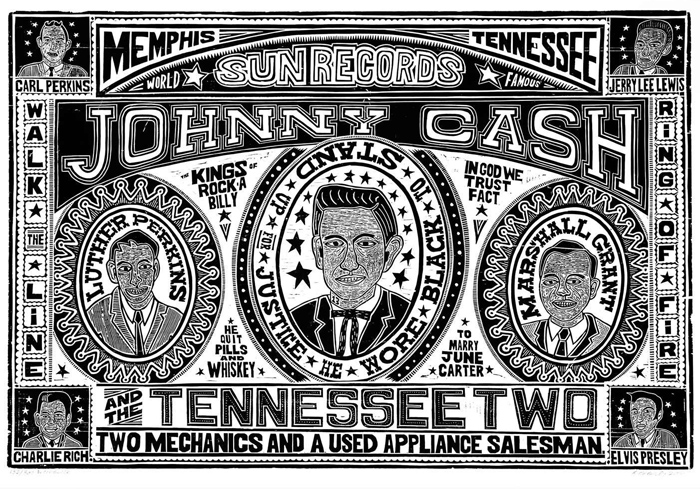
The now defunct YeeHaw Industries was one of my all time favorite print studios. This duo of printers in Knoxville, Tennessee made amazing prints and posters, working entirely by hand using either hand carved blocks or hand set type. They created a wide range of work, from delightful posters honoring the greats of country music, to their stationery line, to a print (my personal favorite, which hangs over my press) which is best described as “A Printer’s Inside Joke.”

YeeHaw Press produced amazing work for 16 years. More than that, they were ambassadors to the world of printing, sharing detailed information about their processes, and opening up their studio for tours on a regular basis.

While the YeeHaw print shop is now closed, you can browse through their sold work on Etsy to get a sense of the range of work they once made.

Filed Under: Inspiration Tagged With: printmaking

Cotton & Flax on Instagram

October 17, 2012

I post lots of behind the scenes photos on Instagram, are you following me over there? My username is erin_dollar (I can’t wait for the day where you can link directly to your Instagram profile!) update: my new username is @cottonandflax!

Filed Under: Behind the Scenes

  • « Previous Page
  • Page 1
  • …
  • Page 62
  • Page 63
  • Page 64
  • Page 65
  • Page 66
  • …
  • Page 76
  • Next Page »

Primary Sidebar

A textile designer’s journal

Welcome! I'm Erin Dollar, the textile designer behind Cotton & Flax. I create patterned home decor that's rooted in creative exploration.

Here I'll share peeks of my design process, creative inspirations, decor ideas, and more.

sign up for email updates

Favorite Posts


A Peek Inside the Studio


Developing New Patterns


Best Sewing Books for Beginners

Categories

Follow the blog

Follow     follow
us in feedly

Search

Footer

  • Email
  • Facebook
  • Instagram
  • Pinterest
  • Twitter

A textile designer’s journal

Welcome! I'm Erin Dollar, the textile designer behind Cotton & Flax. Here I'll share peeks behind the scenes, recent inspirations, decor ideas, and more. Read More…

Favorite Posts


Copyright © 2025 Cotton & Flax