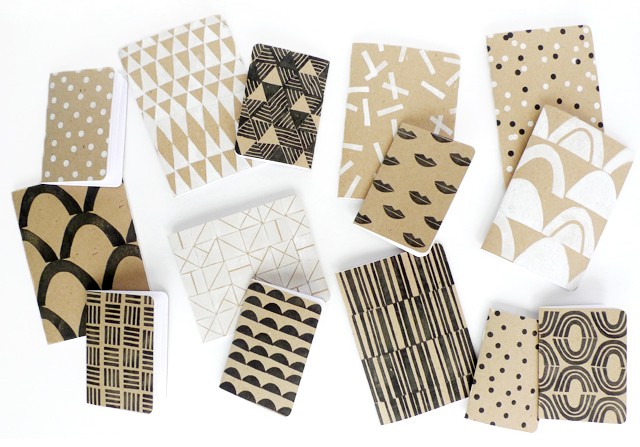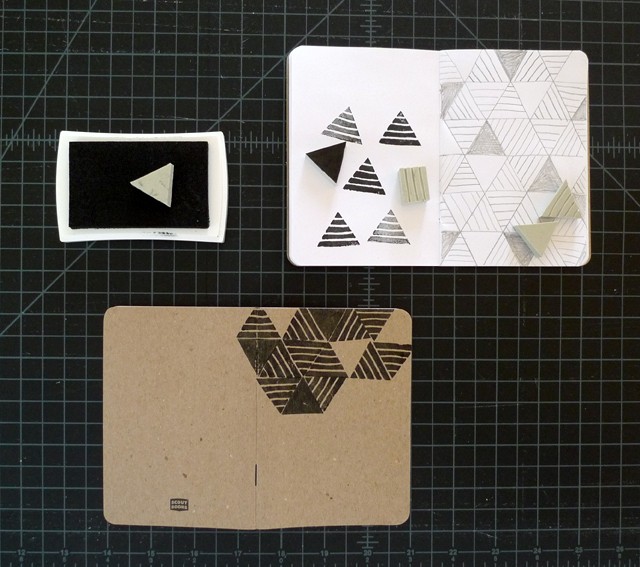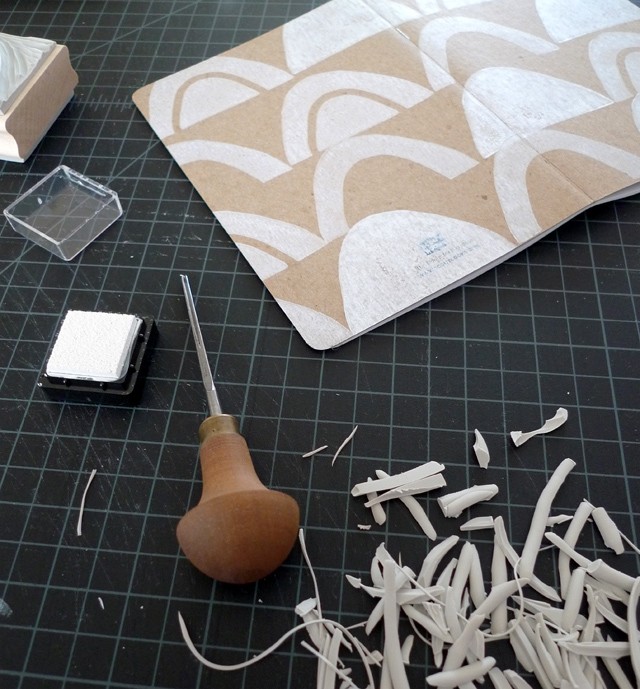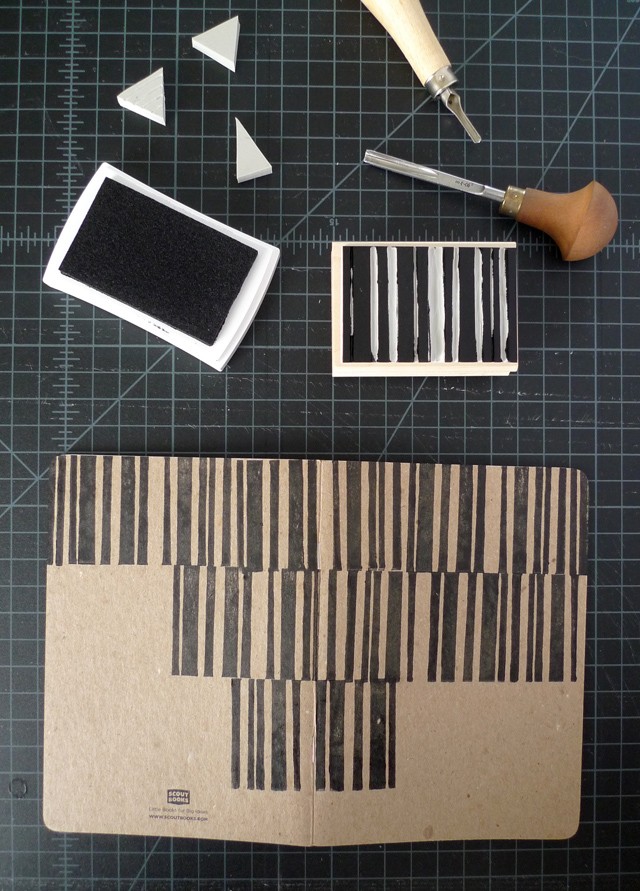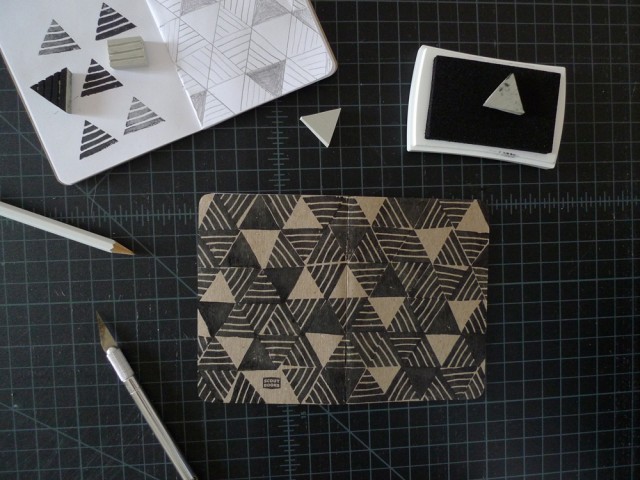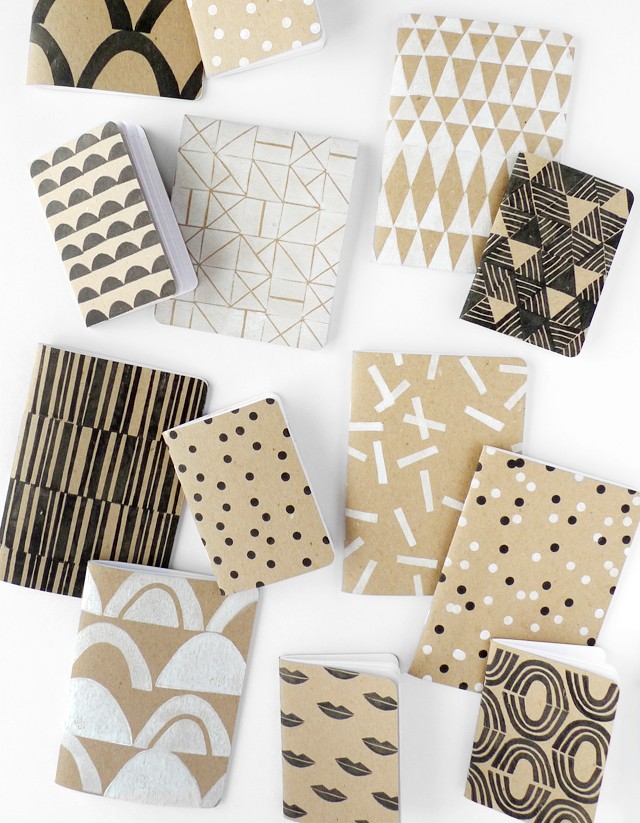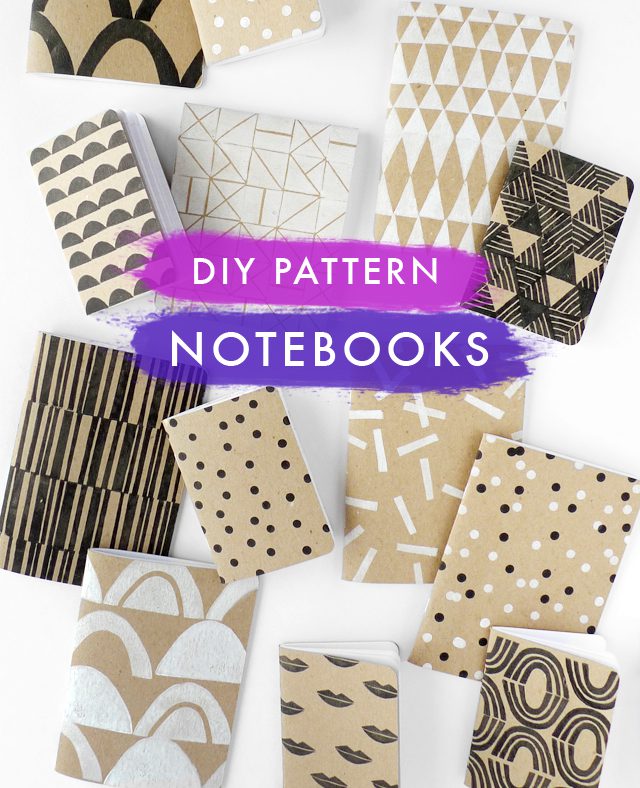
I often experiment with hand-carved stamps to try out new patterns that I’m thinking of adding to the Cotton & Flax collection. It’s a quick and easy process that lets me see results right away, rather than taking time to burn a new silkscreen. I decided to try out a new technique: printing my original patterns on blank notebooks!
A hand-printed personalized journal or notebook makes a great gift for a friend, or you can create a bunch to keep on hand for whenever inspiration strikes.
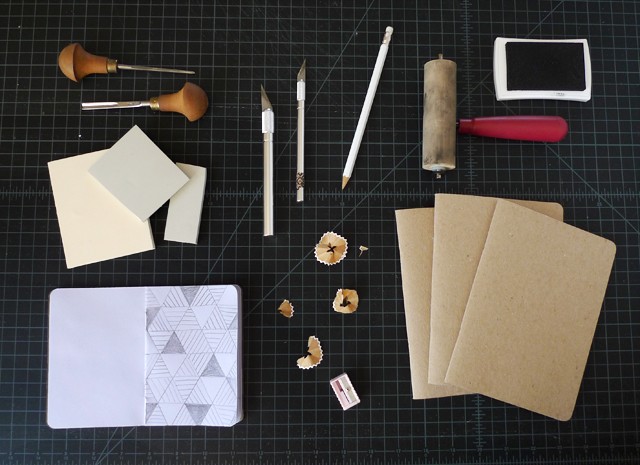
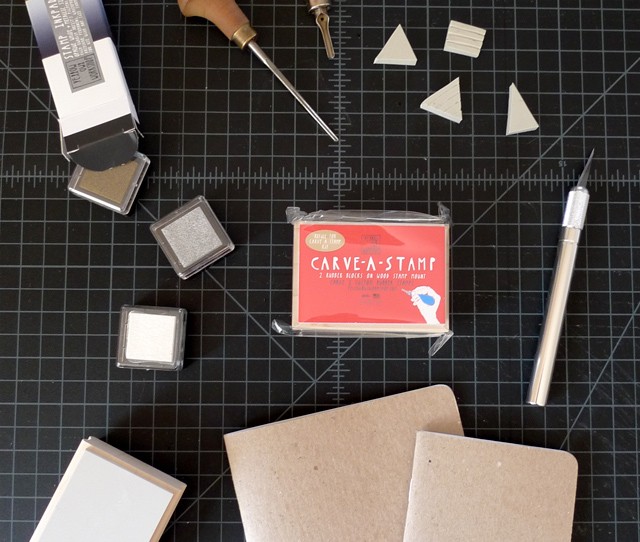
To make these custom notebooks, first you’ll need to gather your supplies. For this project, I’m using blank kraft notebooks from Scout Books, which are made in Portland, Oregon. I used Yellow Owl Workshop’s Carve-A-Stamp blocks, as well as Speedy Cut Linoleum blocks – both are easy to carve, even if you’re trying printmaking for the first time. Alternatively, you can skip carving a block, and use a pre-made stamp (these cactus stamps are very cool).
You’ll also need:
- Pencil and paper for sketching design ideas
- Carving tools – Speedball makes an inexpensive set, you can also use a sharp X-acto knife
- Ink – I’m using a ink pads for this project, but you could also roll out a little block printing ink if you have a rubber brayer and a flat piece of glass or acrylic
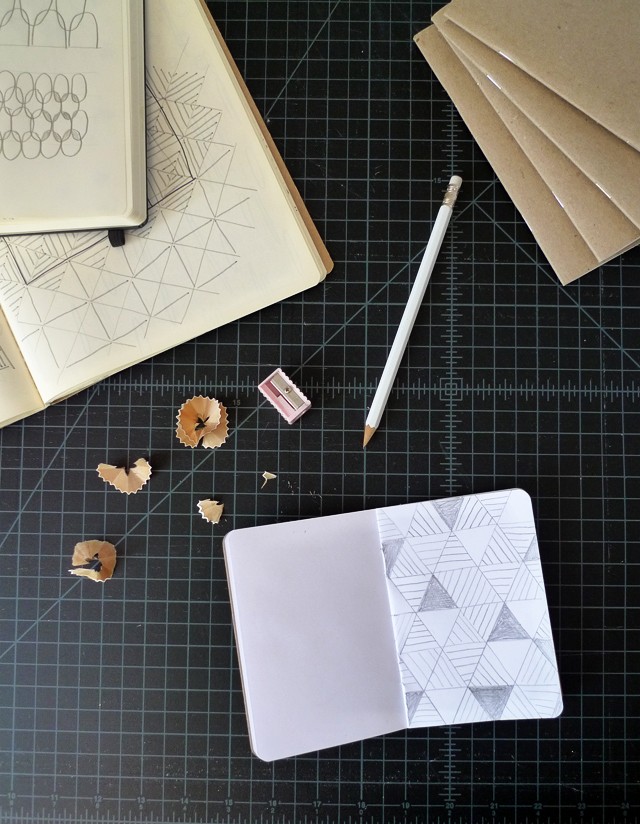
Find a clean, flat surface to work on. I use a self-healing mat to protect my table while I’m cutting the linoleum. Before I dive into carving stamps, I’ll sketch some ideas for designs I’d like to create.
Once I’ve developed a design, I place my pencil sketch face down on the linoleum block, and rub the back with my fingernail to transfer a light outline the image, which I can use as a guide. Keep in mind that the image will reverse when printed, so don’t worry if it doesn’t look quite like you imagined it.
When you are carving a stamp, the parts you carve away from the block will not print – they will appear as negative space. The stamp will consist of whatever flat surface you leave behind while carving. Safety tip: always push the carving tools away from your body, and do not to keep your hand in front of the knife or blade (X-acto injuries are the worst!)
Once you have created a stamp you’re happy with, dust off your workspace, and get ready to print!
Open the notebook and lay it out flat on the table. Load your stamp with ink using either an ink pad, or a brayer with ink that you’ve rolled out onto a glass slab. Press the stamp to the paper in whatever arrangement you prefer. I like to do a simple repeat pattern, but random arrangements are fun, too. Try using a couple different colors of ink, or mix two or three stamps into one design!
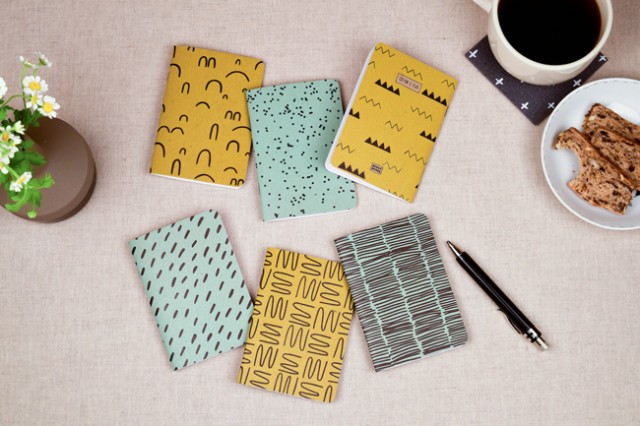
I’m excited to share that this DIY is just the beginning of my partnership with Scout Books! You can find our complete collection of professionally printed notebooks in the Cotton & Flax shop.
Check out more DIY tutorials, like hand-printed envelope liners, or block-printed gift wrap!
*Author’s note: I only recommend products that I love and use in my own studio. I may receive a small commission on sales of the products that are linked to in my posts.

