• Skip to primary navigation
  • Skip to main content
  • Skip to primary sidebar
  • Skip to footer

Blog - Cotton & Flax

  • Shop
  • Fabric
  • Workshops
  • About
  • Contact
  • Navigation Menu: Social Icons

    • Facebook
    • Instagram
    • Pinterest
    • Twitter

printing

Cotton & Flax business cards

April 17, 2013

Cotton & Flax business cards

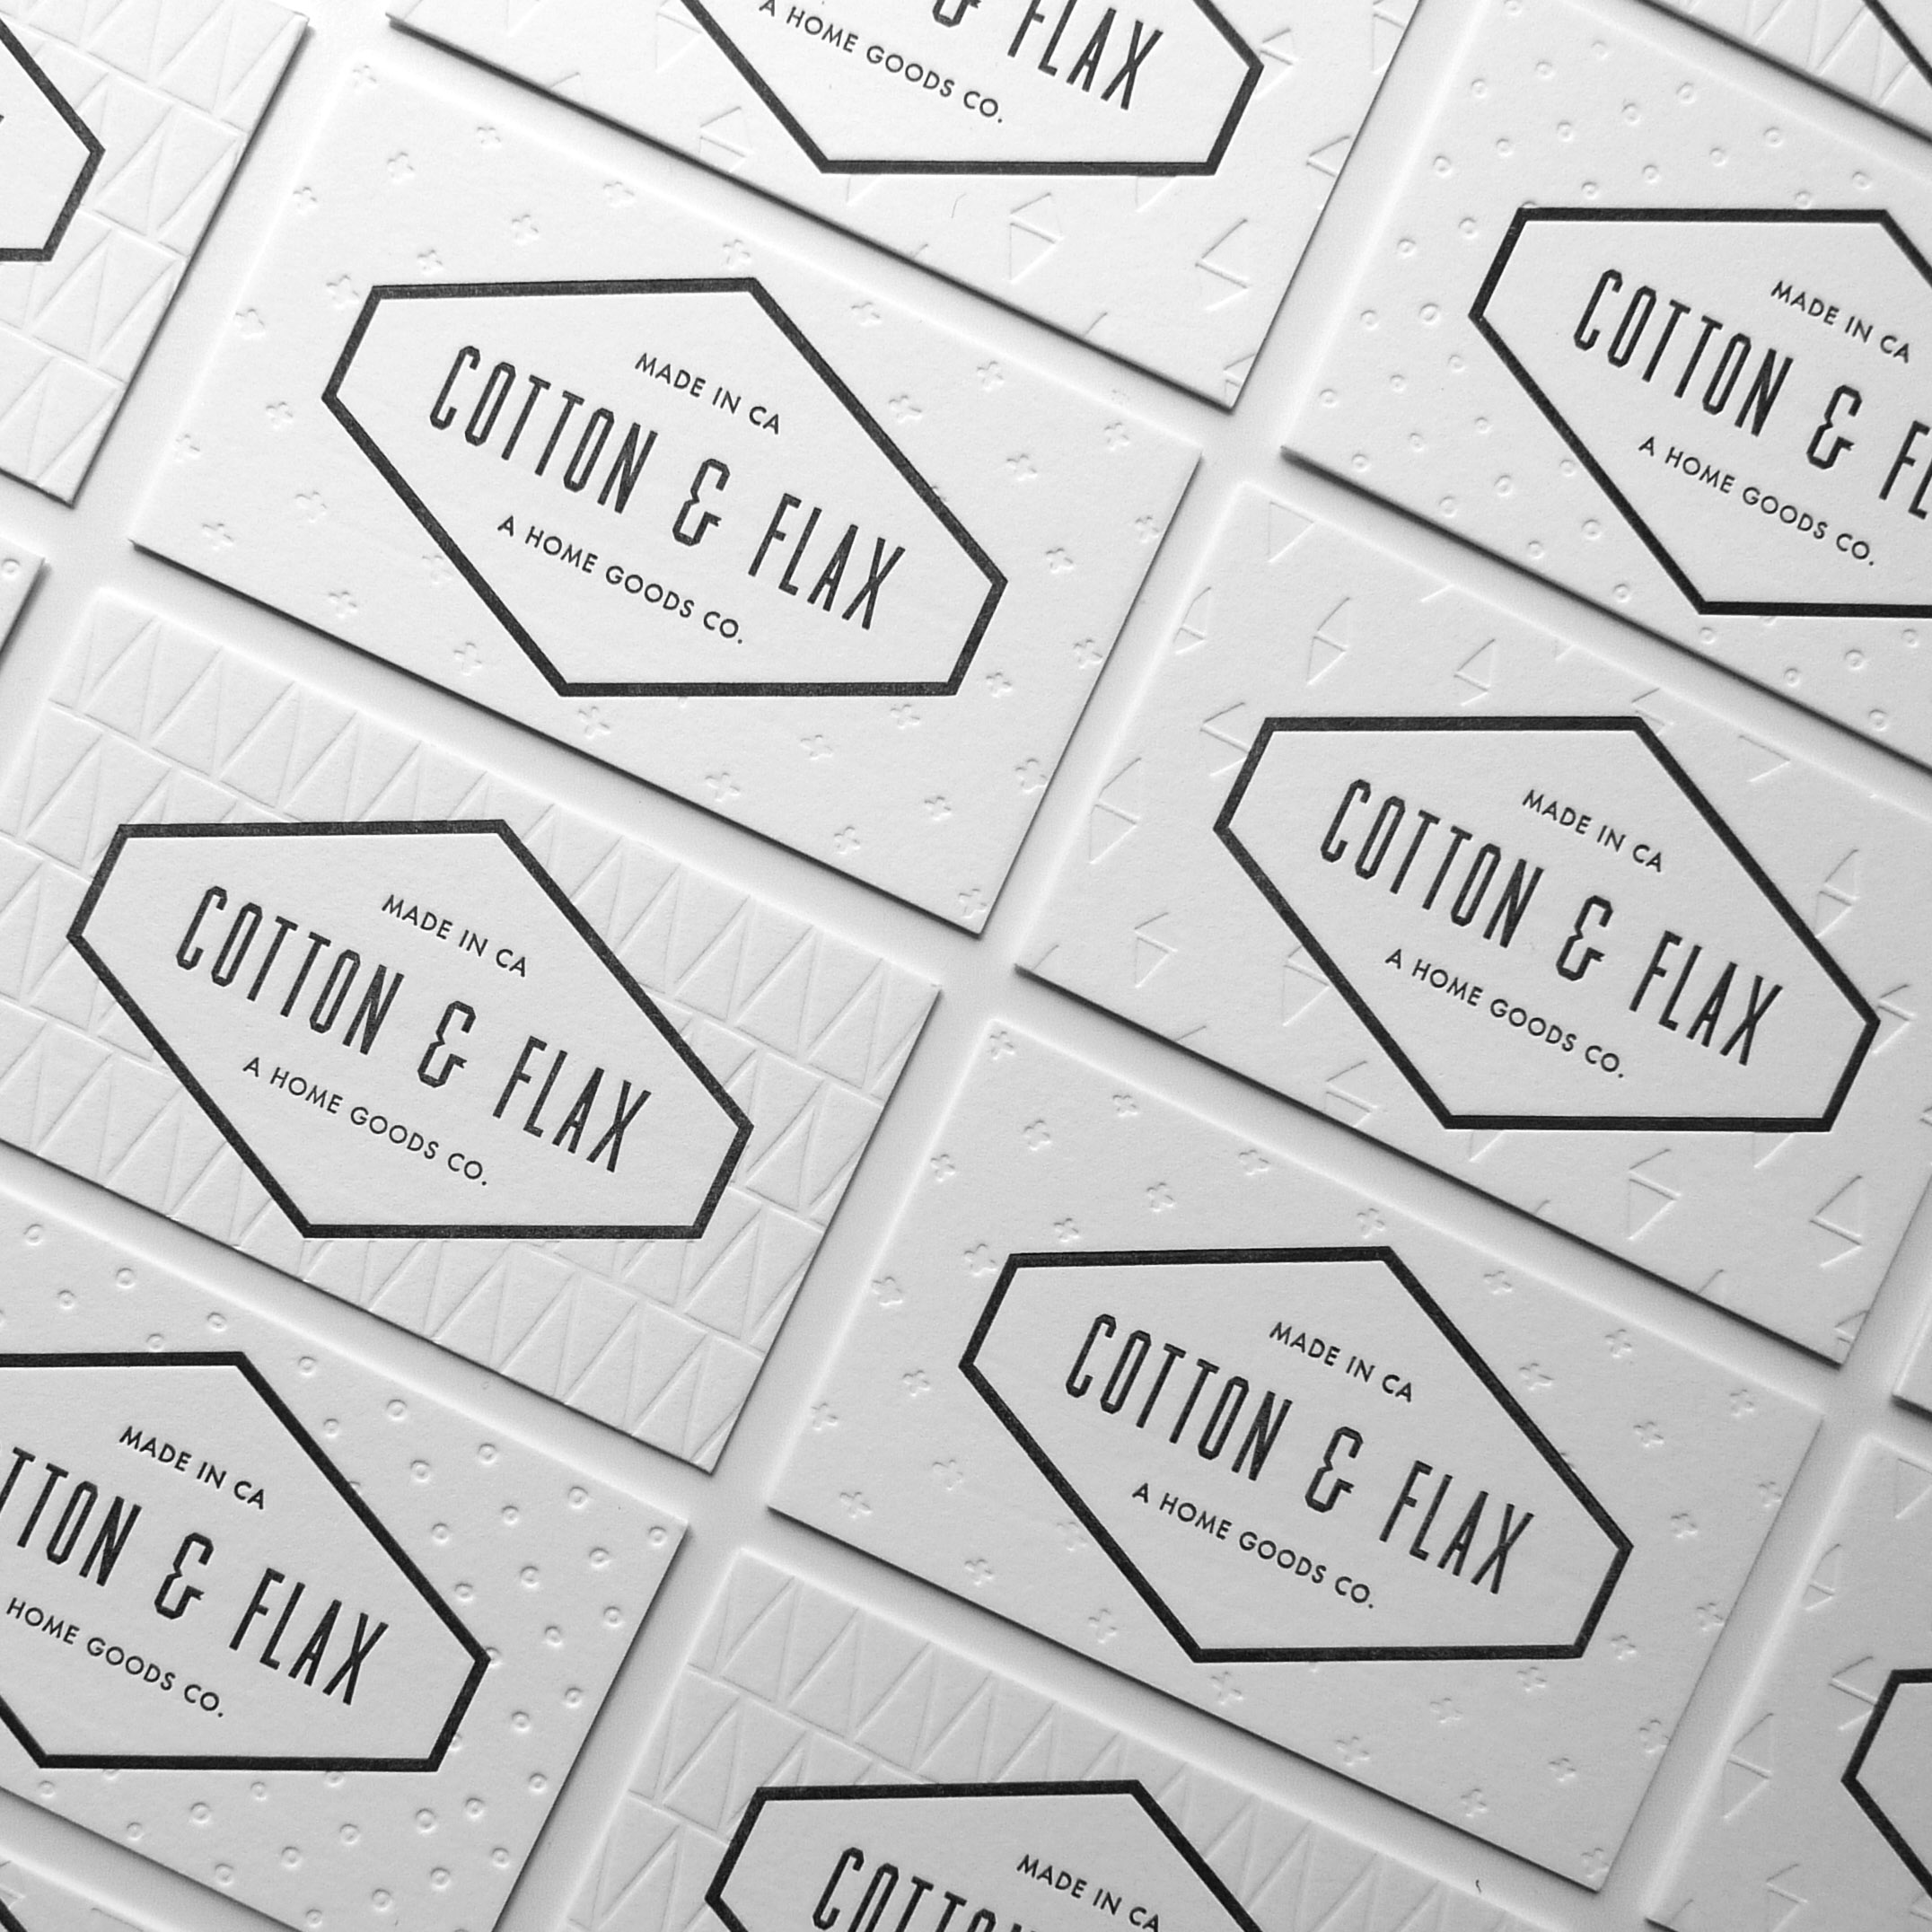
I’ve gotten a few emails about my business cards this month, so I thought I would feature them again. I wrote about the process behind them back in September when I first watched them being made, but for those who missed that post, here are the basics.

  • My cards were letterpress printed here in L.A. by LuluDee Design at Dee & Lala Press.
  • My logo was also designed by LuluDee Design.
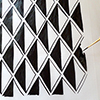
  • The patterns you see in the background were printed using a process called blind emboss, where the plate is pressed into the paper without ink.

These are hands down the nicest business cards I’ve ever had, thanks to Laura Carignan from Lulu Dee for creating them for me!

Filed Under: Behind the Scenes Tagged With: business cards, letterpress, printing

In Progress

February 28, 2013

Printing for Cotton & Flax

Just a couple iPhone photos of work in progress. Working hard to get things finished to photograph this weekend, I have a little photoshoot planned.

interior pillow labels

Lots of activities like this happening around the studio lately: stamping the interiors of pillow flaps with the Cotton & Flax brand. No itchy tags here, you can rest your head easily on my pillows.

Filed Under: Behind the Scenes Tagged With: printing, sewing, silkscreen printing

Valentine’s Day DIY – Eraser Heart Prints

February 5, 2013

Patterned valentines DIY from Cotton & Flax

Riffing off my other eraser printing DIY project, which uses a new pencil eraser to make cute polka dotted gift wrap, I thought I’d take that DIY a little further for Valentine’s Day. I love using stamps to make patterned gift wrap or cards, and carving your own heart stamp is super easy!

DIY Supplies

Here’s what you’ll need:

  1. Varied cards or papers
  2. Envelopes
  3. Stamp pad
  4. Carving tools (I use an x-acto knife and a small printmaking carving tool)
  5. One brand new pencil with an eraser, one pencil to draw with

eraser

Start by drawing a little heart on the unused eraser. This will be your guide as you carve.

carved eraser

Proceed by carefully (and I mean CAREFULLY! I don’t want anyone getting hurt!) cutting around the edge of your drawing, and cutting away the edges. It’s very easy to accidentally lob off the whole eraser if you’re going too fast, so take your time. Watch out for your fingers, those x-acto knives are sharp!

Valentine's Day DIY from Cotton & Flax

All that’s left to do is stamp! I used a black stamp pad, but you could use any color. I would love to do this project using neon pink ink. You can go super simple, just stamping a single tiny heart on the card or envelope, or you can go wild!

valentines from Cotton & Flax

I made a few different versions, one of which I am sending to my sister. I made her address label using some of the leftover paper! Hope you’re inspired to send a sweet snail mail valentine to someone you love.

Filed Under: DIY Tagged With: diy, holiday, printing, printmaking

A busy week of making.

November 1, 2012

It was strange to take most of the week off from blogging, but I just had to focus all my waking energy on finishing my work for Feliz Holiday Sale in Austin this weekend. I’ve been printing, sewing, and packaging items like a madwoman this week, and I hope to share more photos of the finished products soon. Until then, here are a few Instagram snaps of my works in progress from this week.

These are all the different versions of the printed felt coasters I’ll be adding to the shop next week. So bright and fun!

This was one of the last pieces of fabric I printed before hunkering down into sewing mode. I will be debuting new printed tea towels next week, too!

Filed Under: Behind the Scenes Tagged With: printing, sewing

DIY Printed Envelope Liners

October 22, 2012

Did you happen to see Heather Ross’ DIY Envelope Liner project on the Etsy blog recently? I was totally inspired to try something similar, but instead of using a premade pattern, I wanted to create my own! I’ll walk you through the steps of using hand carved linoleum stamps to print your own envelope liner, which is sure to impress any pen pal, and could even be used to create personalized stationery or wedding invites!

Materials:

  1. Text-weight colored paper that compliments your envelope
  2. Linoleum printing block
  3. Scissors
  4. Acid-free glue stick
  5. Stamp pad
  6. Carving tools and Xacto knife
  7. Envelope with a pointed flap (I used 4 bar size envelopes for this project)

*Author’s note: I only recommend products that I love and use in my own studio. I may receive a small commission on sales of the products that are linked to in my posts.

DIY Envelope Liners

Begin by trimming the blank paper to size. First, unfold the top envelope flap, and measure from the center of the bottom of the envelope to just under the glue on the top of the flap. Then measure the width of the envelope (see Fig. 1). Trim your paper to accommodate this size. Slip the piece of paper into the envelope to test if it will fit (it should look like Fig. 2).

Carve your own stamps

Next, create a stamp that you’d like to use for the pattern inside the envelope. If you’ve never carved a linoleum stamp before, I covered the basics in my gift wrap stamp tutorial. You can sketch out a design on a piece of paper, or just draw an idea directly onto the linoleum block with a soft pencil. Keep in mind that carved areas will not print, and that your design will print as the reverse image of what you carve. Safety tip: always push the carving tools away from your body, and be careful not to keep your hand in front of the knife (you don’t want to knick a finger!)

Carve your own stamps - Cotton & Flax

Play around with size and scale, see if you prefer the look of a larger design, or a very small design. You’d be surprised how much a simple polka dot can jazz up a plain envelope. Stamp your design onto the liner paper using the ink pad, either in a uniform pattern, or completely randomly! I like to mix it up and try a few different variations. You can even combine two or more stamps into one design. Allow the ink on the liner to dry before continuing.

Slip the freshly printed liner paper into an envelope, with the printed side facing out (see fig. 3). Fold down the top corners of the liner on both sides so that the folded edges run just below the glue line on the envelope. Remove the liner from the envelope, and cut off the corners along the creases (see fig. 4). You can also cut a rounded corner at the tip, to make it look even more professional.

DIY Envelope LinersInsert the liner back into the envelope, and fold down the envelope flap. This will crease the liner at the fold (see fig.5). Lift up just the envelope flap, leaving the liner in place.

Slide a piece of scrap paper under the liner to protect the outside of the envelope from glue (see fig. 6), and use a glue stick to apply glue to the edge of the liner (note that it is only necessary to glue the liner’s flap). Close the envelope flap over the liner and press firmly to adhere the liner to the flap. Remove the scrap paper.

You now have a completed, lined envelope. Be careful when you seal the envelope, you don’t want to lick your stamped liner (or get a papercut on your tongue, ouch!)


Feeling inspired? Check out my other block printing DIY projects!

Ready to dive in to the world of printmaking? Check out my screenprinting class on Creativelive!

Filed Under: DIY Tagged With: diy, printing, snail mail

Studio Tour – Pinball Publishing

October 16, 2012

I was lucky to get a small tour of the Pinball Publishing studios while I was in Portland a few weeks ago. They make tons of amazing work using both offset lithography and letterpress, including their famous Scout Books (my boyfriend loves the 33 Bottles of Beer Journal!)

I really admire this print shop, both for their awesome creative team, and their dedication to making awesome things in a sustainable way. A little about Pinball, in their own words:

Pinball is a Creative Publishing Company.

Our Portland, Oregon headquarters include an integrated printing plant, design studio, editorial offices, and a book manufacturing facility. Within its walls, we combine craft and ingenuity to produce results of the highest quality.

Fueled by a passion for ink, paper, and collaboration, Pinball powers a growing web of interconnected projects, including Scout Books, Print Pinball, and Bangback. With all of these endeavors, we use 100% recycled papers, vegetable-based inks, and renewable energy sources.

Even more awesome: they are super kind to animals! Some of the employees bring their pets to work, like this awesome pup who was acting as shop mascot the day I visited.

I have been dreaming about their insane ink storage area ever since my visit… can you imagine having so much ink?! I wish my studio was even a fraction as awesome as the one at Pinball.

*All photos borrowed from the Pinball Publishing website, except the final two photos, which are my own.

Filed Under: Inspiration Tagged With: portland, printing, printmaking, studio tour

  • « Previous Page
  • Page 1
  • Page 2
  • Page 3
  • Next Page »

Primary Sidebar

A textile designer’s journal

Welcome! I'm Erin Dollar, the textile designer behind Cotton & Flax. I create patterned home decor that's rooted in creative exploration.

Here I'll share peeks of my design process, creative inspirations, decor ideas, and more.

sign up for email updates

Favorite Posts


A Peek Inside the Studio


Developing New Patterns


Best Sewing Books for Beginners

Categories

Follow the blog

Follow     follow
us in feedly

Search

Footer

  • Email
  • Facebook
  • Instagram
  • Pinterest
  • Twitter

A textile designer’s journal

Welcome! I'm Erin Dollar, the textile designer behind Cotton & Flax. Here I'll share peeks behind the scenes, recent inspirations, decor ideas, and more. Read More…

Favorite Posts


Copyright © 2025 Cotton & Flax