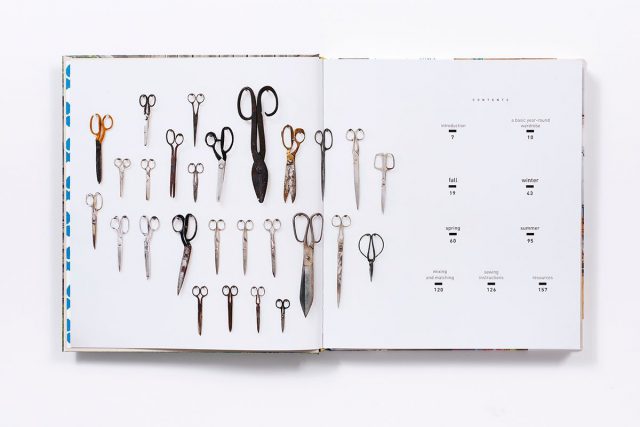
 I mentioned in a previous post how lucky I am that my mom taught me how to sew, and in my cranky teenage years, no less! She taught me the basics on a machine that is quite similar to the one I use as my primary sewing machine now. Since then, I’ve spent a lot of time poring over sewing books in bookshops and libraries, and investing in the ones I found most helpful. Today I’d like to share some of my favorite sewing books for beginners, although I think many of these are great resources even for more experienced sewers….
DIY
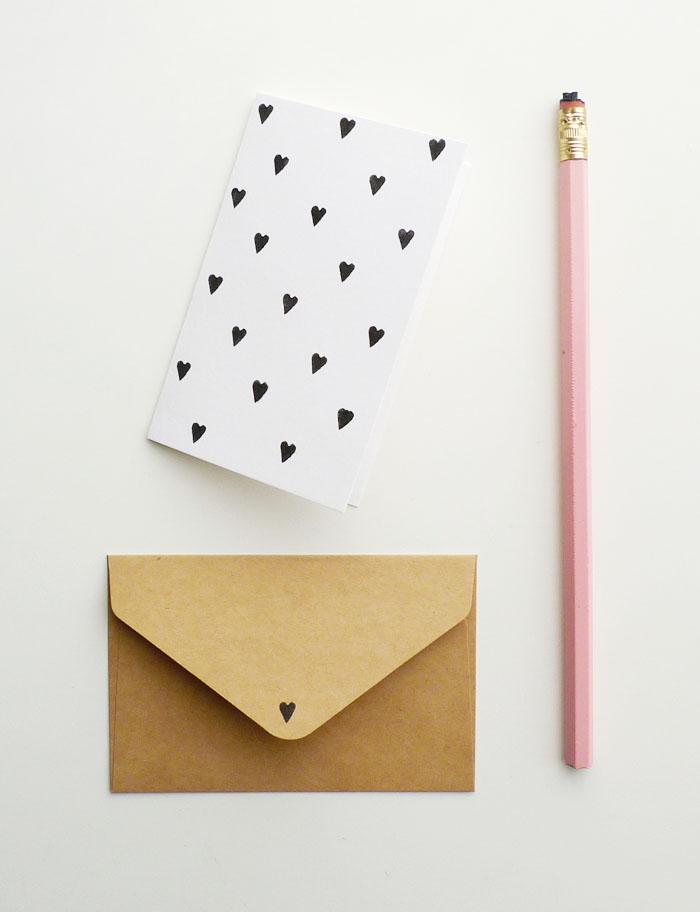
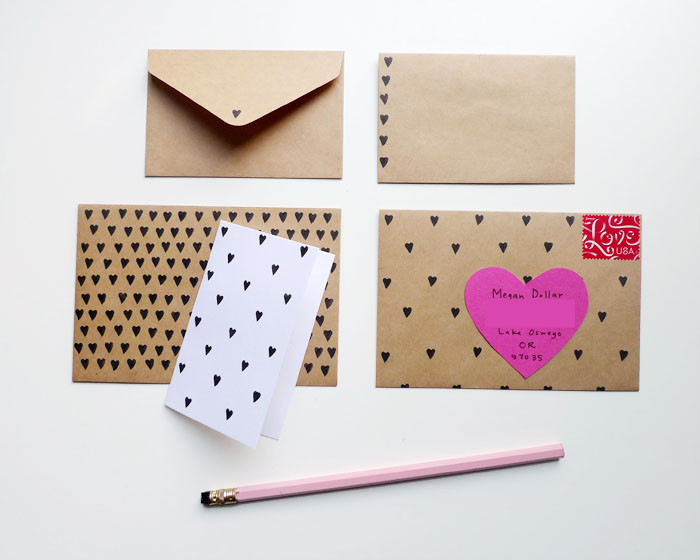
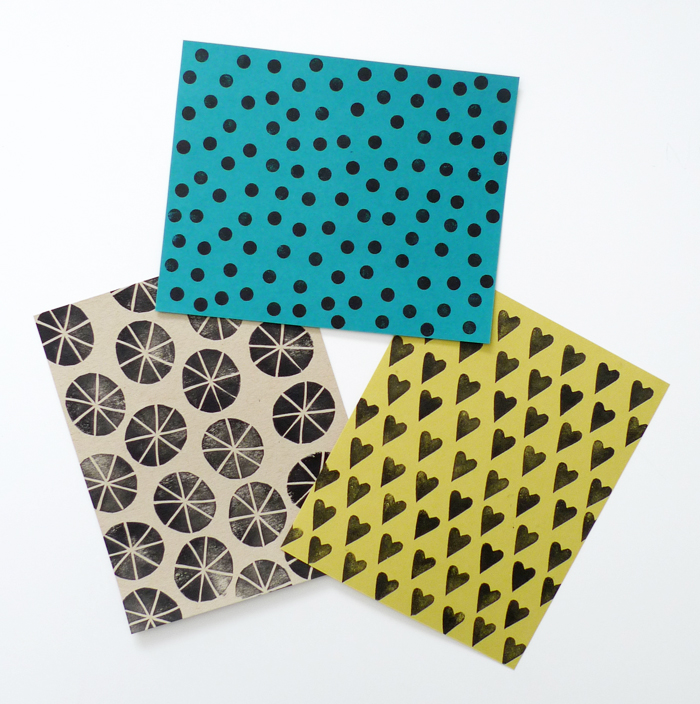
Valentine’s Day DIY – Eraser Heart Prints
Riffing off my other eraser printing DIY project, which uses a new pencil eraser to make cute polka dotted gift wrap, I thought I’d take that DIY a little further for Valentine’s Day. I love using stamps to make patterned gift wrap or cards, and carving your own heart stamp is super easy!
Here’s what you’ll need:
- Varied cards or papers
- Envelopes
- Stamp pad
- Carving tools (I use an x-acto knife and a small printmaking carving tool)
- One brand new pencil with an eraser, one pencil to draw with
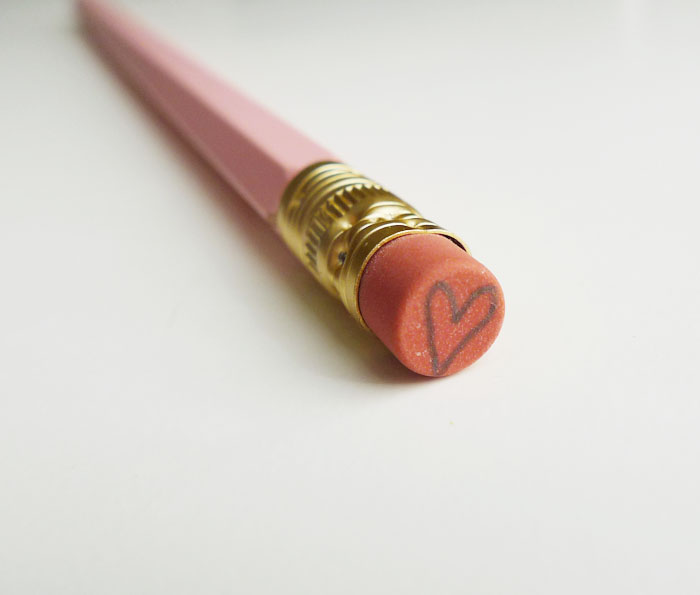
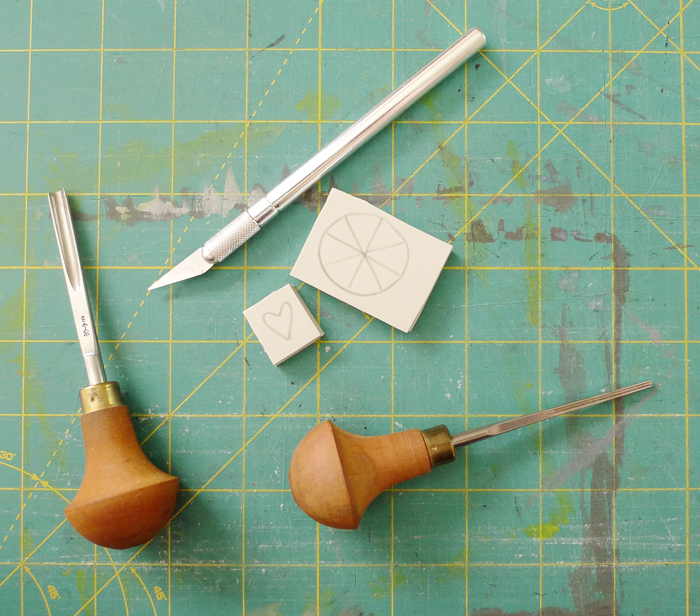
Start by drawing a little heart on the unused eraser. This will be your guide as you carve.
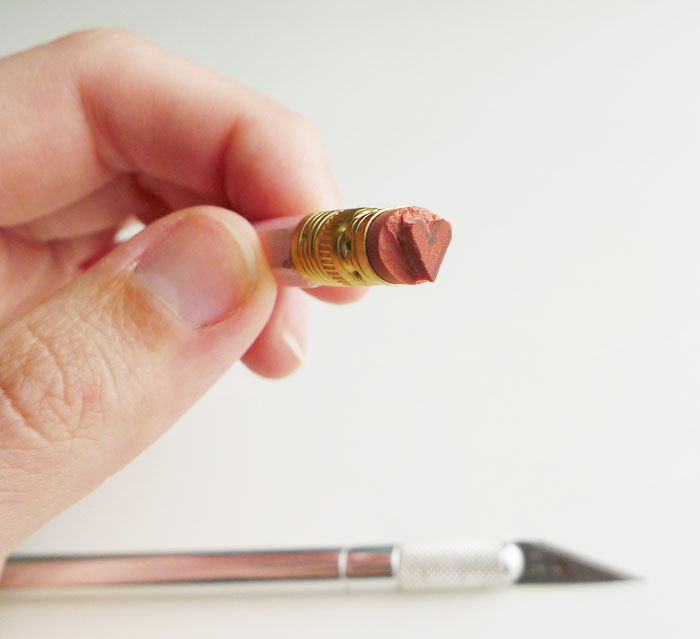
Proceed by carefully (and I mean CAREFULLY! I don’t want anyone getting hurt!) cutting around the edge of your drawing, and cutting away the edges. It’s very easy to accidentally lob off the whole eraser if you’re going too fast, so take your time. Watch out for your fingers, those x-acto knives are sharp!
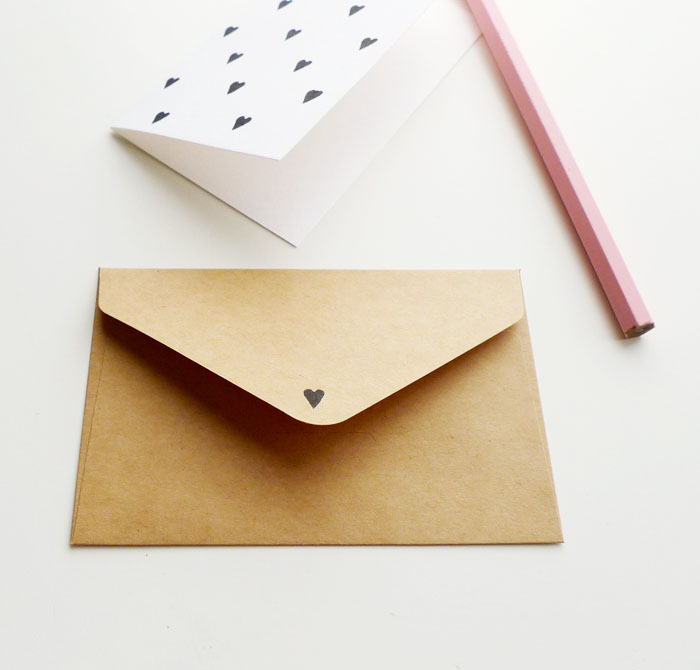
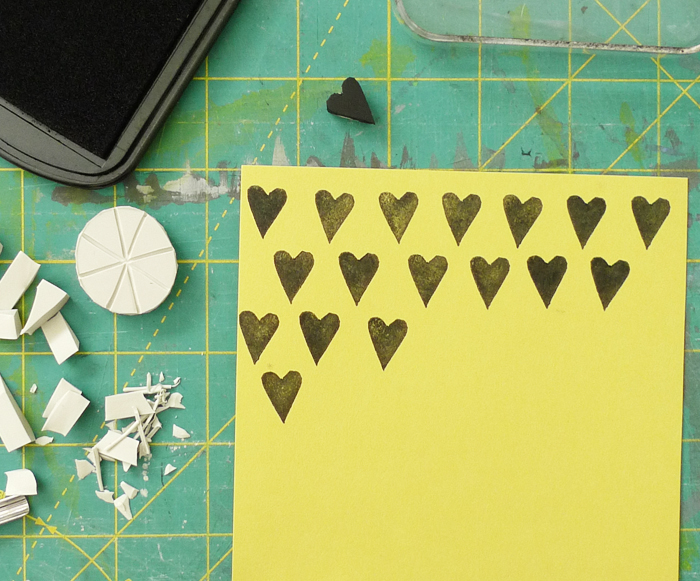
All that’s left to do is stamp! I used a black stamp pad, but you could use any color. I would love to do this project using neon pink ink. You can go super simple, just stamping a single tiny heart on the card or envelope, or you can go wild!
I made a few different versions, one of which I am sending to my sister. I made her address label using some of the leftover paper! Hope you’re inspired to send a sweet snail mail valentine to someone you love.
Furoshiki Gift Wrapping
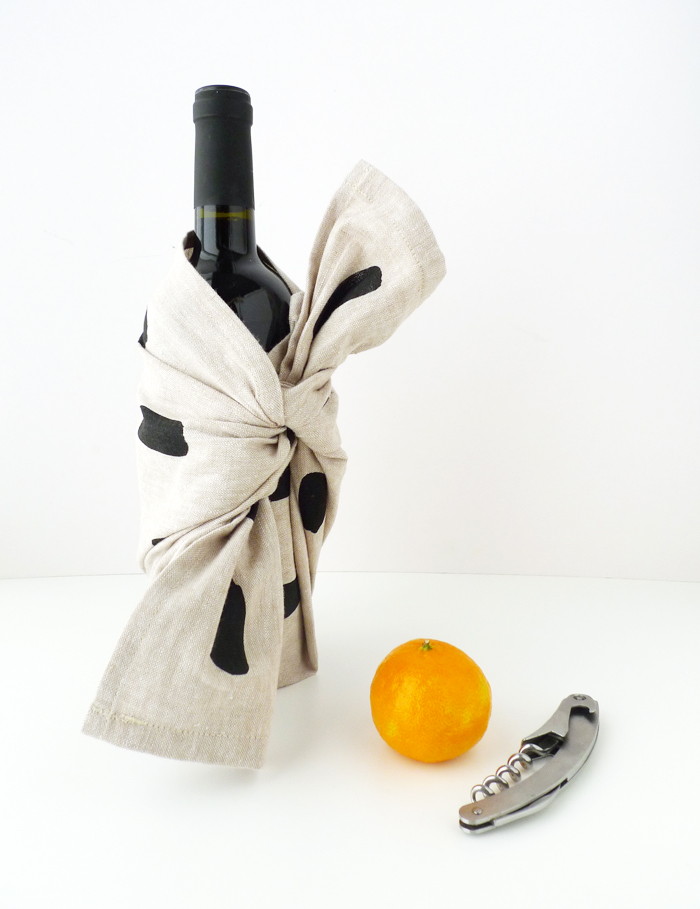
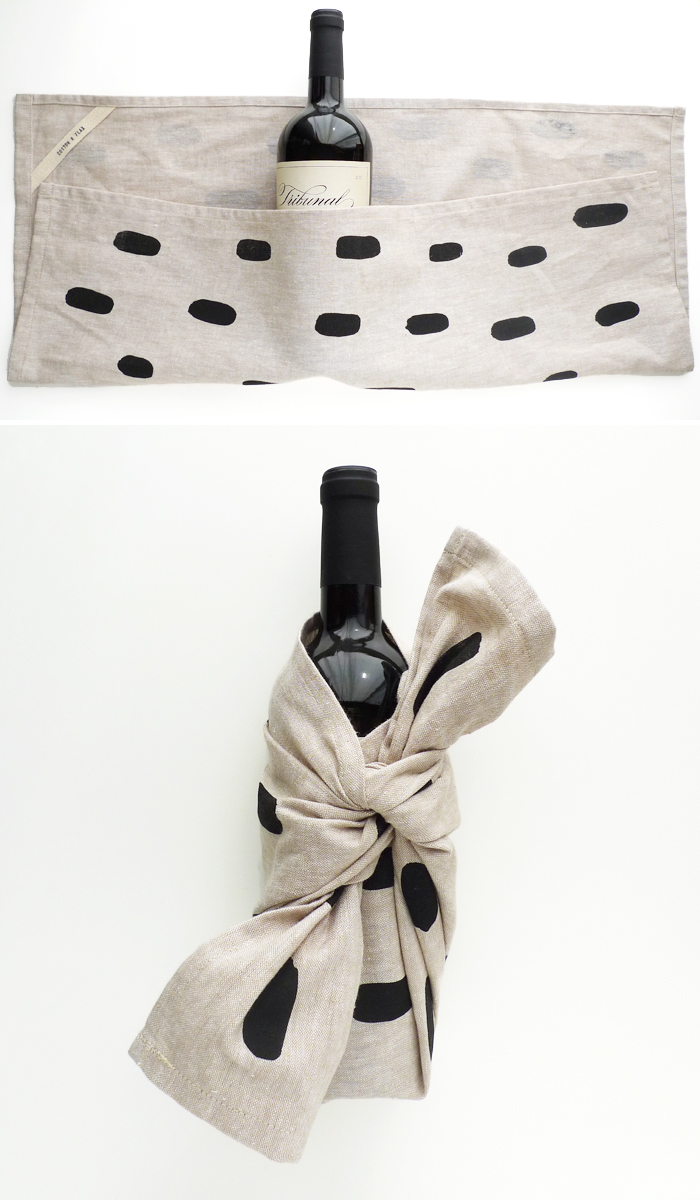
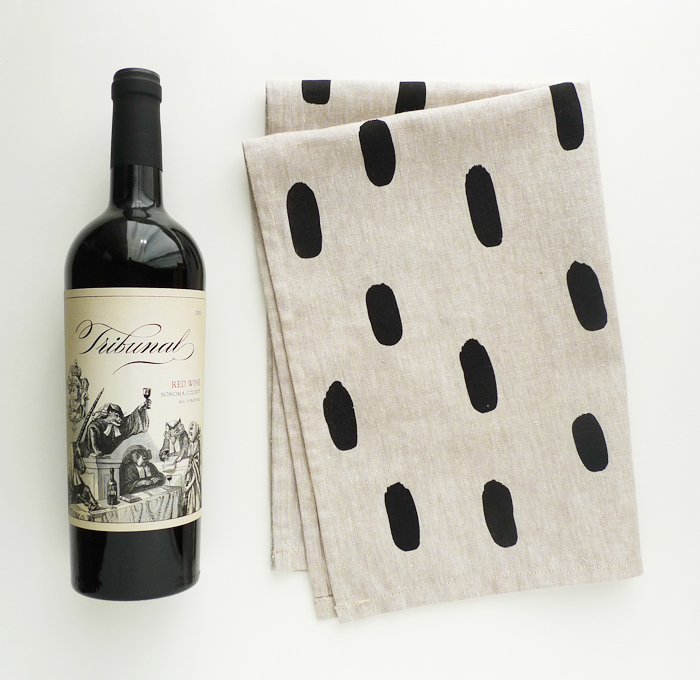
I have been looking for gifts to bring to holiday parties this year, and after reading a little about furoshiki, or fabric gift wrapping, I had to try it with one of the Cotton & Flax tea towels. I think it turned out nicely (it kind of looks like a person wrapped in a cozy blanket!), and gives that gift for the host or hostess a little extra oompf.
You could also really easily wrap a cookbook in a tea towel, another great gift combination for the cook or foodie in your life. There are lots of guides to furoshiki on YouTube, definitely worth checking out!
Creative Yarn Wrapping
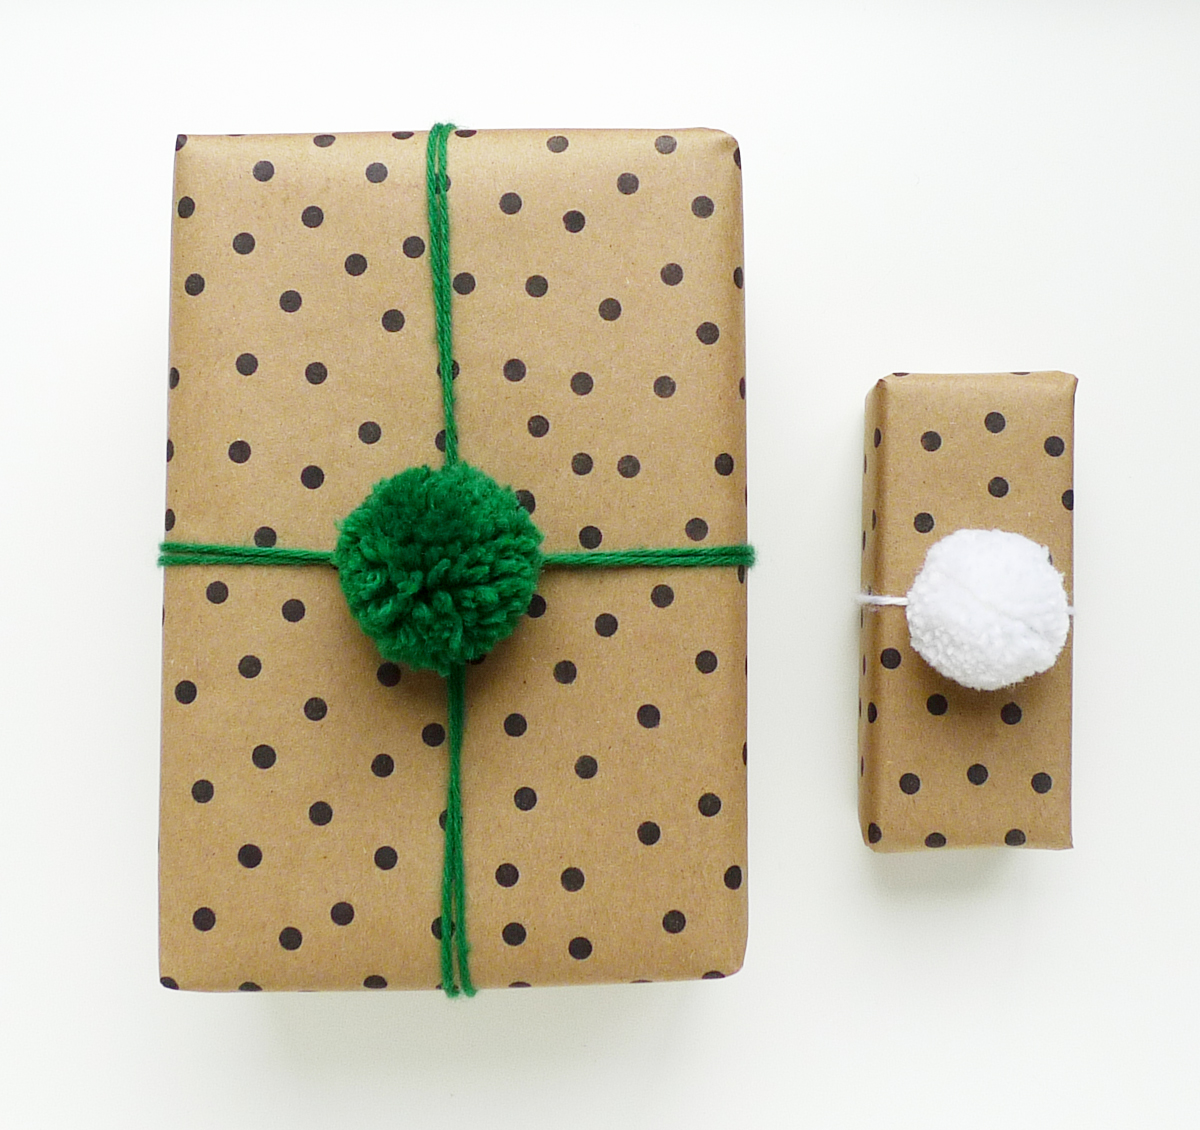
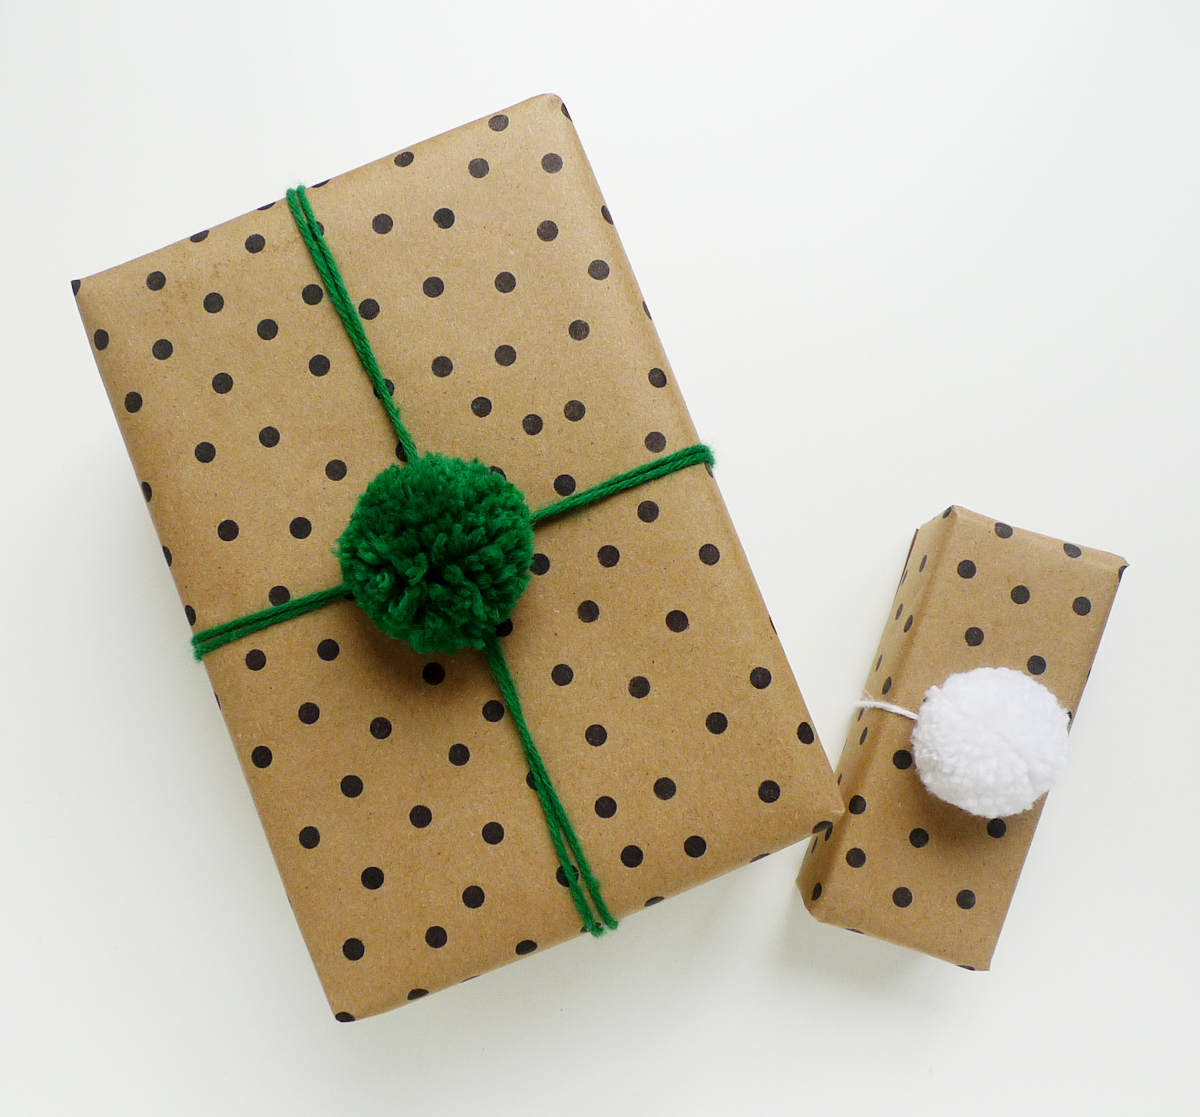
Did you happen to see this great pom-pom wrapping DIY project floating around Pinterest? Shauna and Stephen from Something’s Hiding in Here had a similar idea a while back too. I was inspired to combine the festive pom pom decorations with my own hand stamped gift wrap as a different take on this fun wrapping paper that has been making the blog rounds lately.
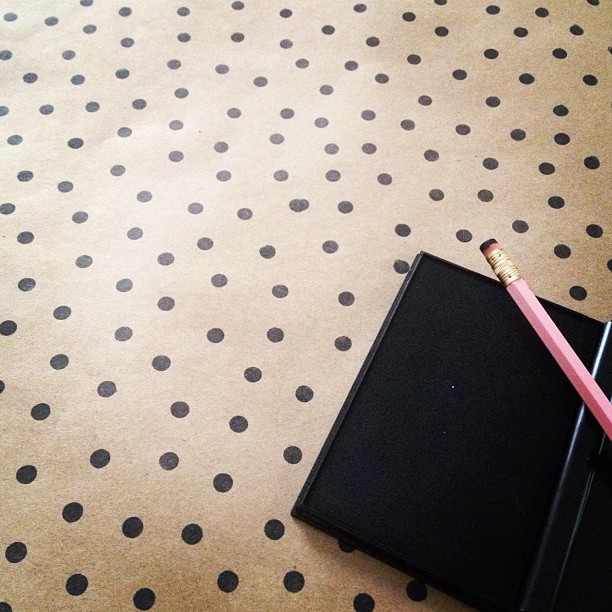
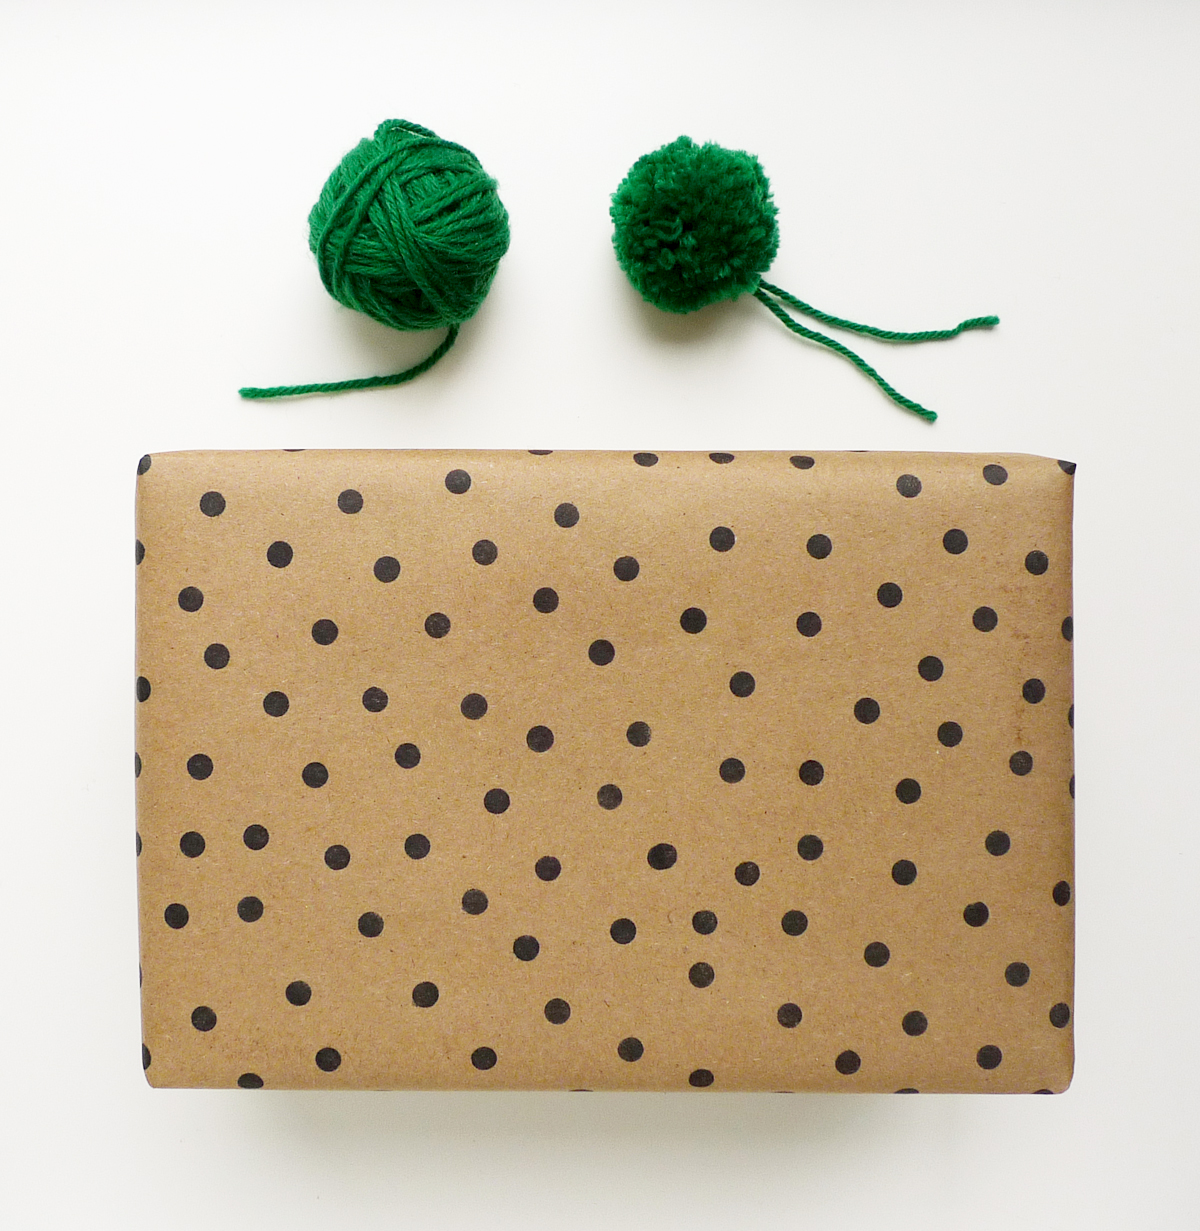
I started by making some simple polka dot wrapping paper using just a new pencil eraser, and a standard stamp pad. You could even do something more intricate, by following my DIY hand stamped gift wrap tutorial.
Then I created a few pom-poms (you can find lots of tutorials online, Martha Stewart has a good overview here.) After wrapping string around the package a couple times like a ribbon, I tied the pom-poms to the top of the package to complete this dotty package.
This is an easy way to wrap larger gifts, and an affordable alternative to some of the fancier gift wraps out there. It’s easy to customize with your loved one’s favorite color, too!
DIY Printed Envelope Liners
 Did you happen to see Heather Ross’ DIY Envelope Liner project on the Etsy blog recently? I was totally inspired to try something similar, but instead of using a premade pattern, I wanted to create my own! I’ll walk you through the steps of using hand carved linoleum stamps to print your own envelope liner, which is sure to impress any pen pal, and could even be used to create personalized stationery or wedding invites!
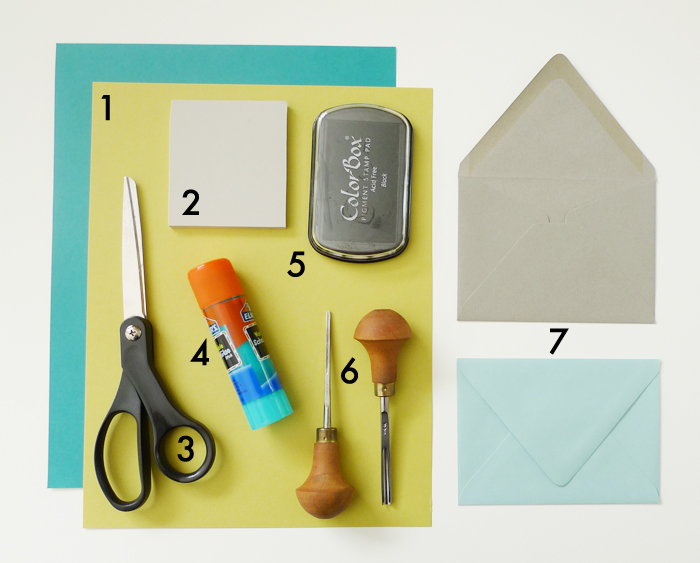
Materials:
- Text-weight colored paper that compliments your envelope
- Linoleum printing block
- Scissors
- Acid-free glue stick
- Stamp pad
- Carving tools and Xacto knife
- Envelope with a pointed flap (I used 4 bar size envelopes for this project)
*Author’s note: I only recommend products that I love and use in my own studio. I may receive a small commission on sales of the products that are linked to in my posts.
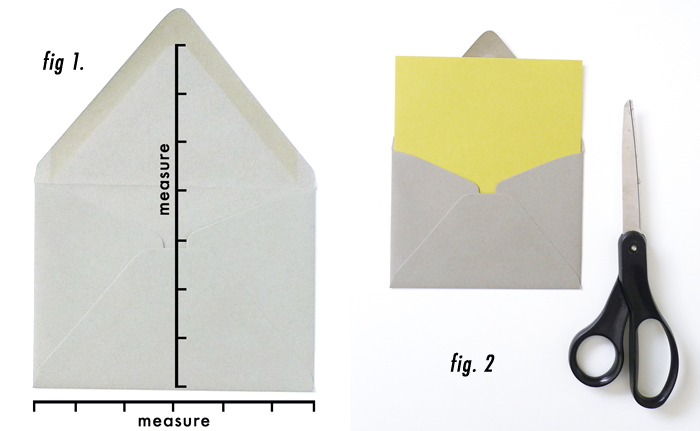
Begin by trimming the blank paper to size. First, unfold the top envelope flap, and measure from the center of the bottom of the envelope to just under the glue on the top of the flap. Then measure the width of the envelope (see Fig. 1). Trim your paper to accommodate this size. Slip the piece of paper into the envelope to test if it will fit (it should look like Fig. 2).
Next, create a stamp that you’d like to use for the pattern inside the envelope. If you’ve never carved a linoleum stamp before, I covered the basics in my gift wrap stamp tutorial. You can sketch out a design on a piece of paper, or just draw an idea directly onto the linoleum block with a soft pencil. Keep in mind that carved areas will not print, and that your design will print as the reverse image of what you carve. Safety tip: always push the carving tools away from your body, and be careful not to keep your hand in front of the knife (you don’t want to knick a finger!)
Play around with size and scale, see if you prefer the look of a larger design, or a very small design. You’d be surprised how much a simple polka dot can jazz up a plain envelope. Stamp your design onto the liner paper using the ink pad, either in a uniform pattern, or completely randomly! I like to mix it up and try a few different variations. You can even combine two or more stamps into one design. Allow the ink on the liner to dry before continuing.
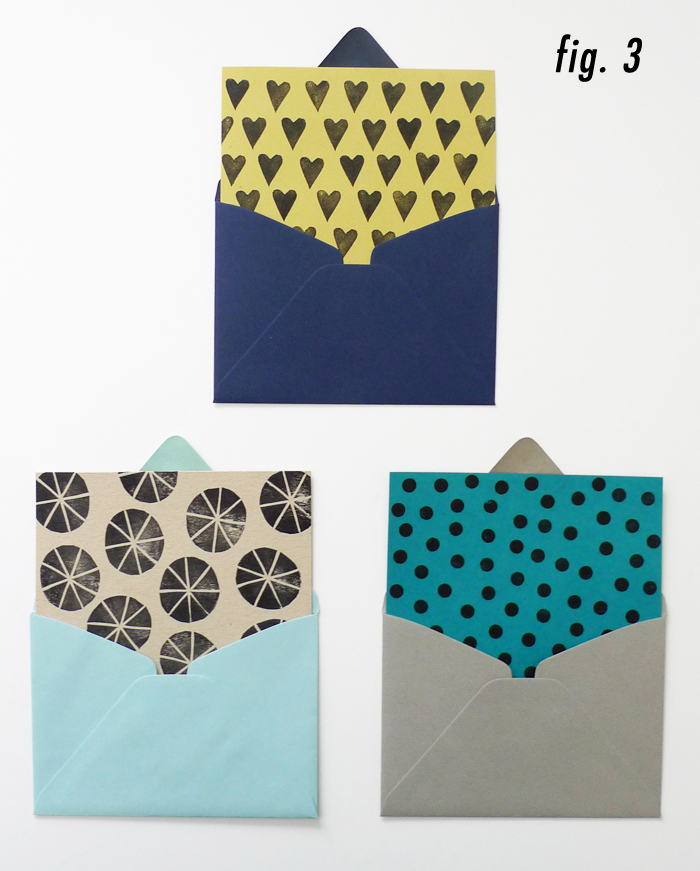
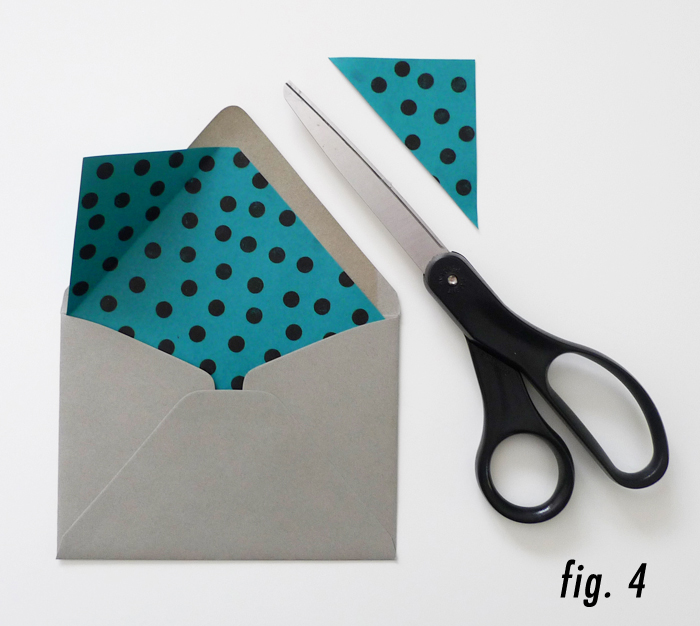 Slip the freshly printed liner paper into an envelope, with the printed side facing out (see fig. 3). Fold down the top corners of the liner on both sides so that the folded edges run just below the glue line on the envelope. Remove the liner from the envelope, and cut off the corners along the creases (see fig. 4). You can also cut a rounded corner at the tip, to make it look even more professional.
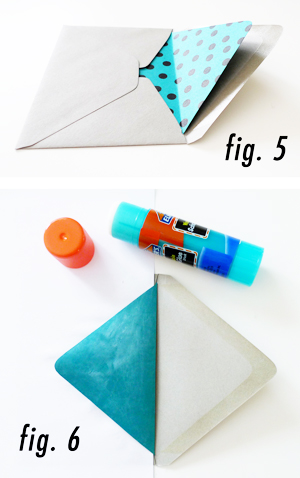 Insert the liner back into the envelope, and fold down the envelope flap. This will crease the liner at the fold (see fig.5). Lift up just the envelope flap, leaving the liner in place.
Slide a piece of scrap paper under the liner to protect the outside of the envelope from glue (see fig. 6), and use a glue stick to apply glue to the edge of the liner (note that it is only necessary to glue the liner’s flap). Close the envelope flap over the liner and press firmly to adhere the liner to the flap. Remove the scrap paper.
You now have a completed, lined envelope. Be careful when you seal the envelope, you don’t want to lick your stamped liner (or get a papercut on your tongue, ouch!)
Feeling inspired? Check out my other block printing DIY projects!
Ready to dive in to the world of printmaking? Check out my screenprinting class on Creativelive!
Purl Bee DIY Projects
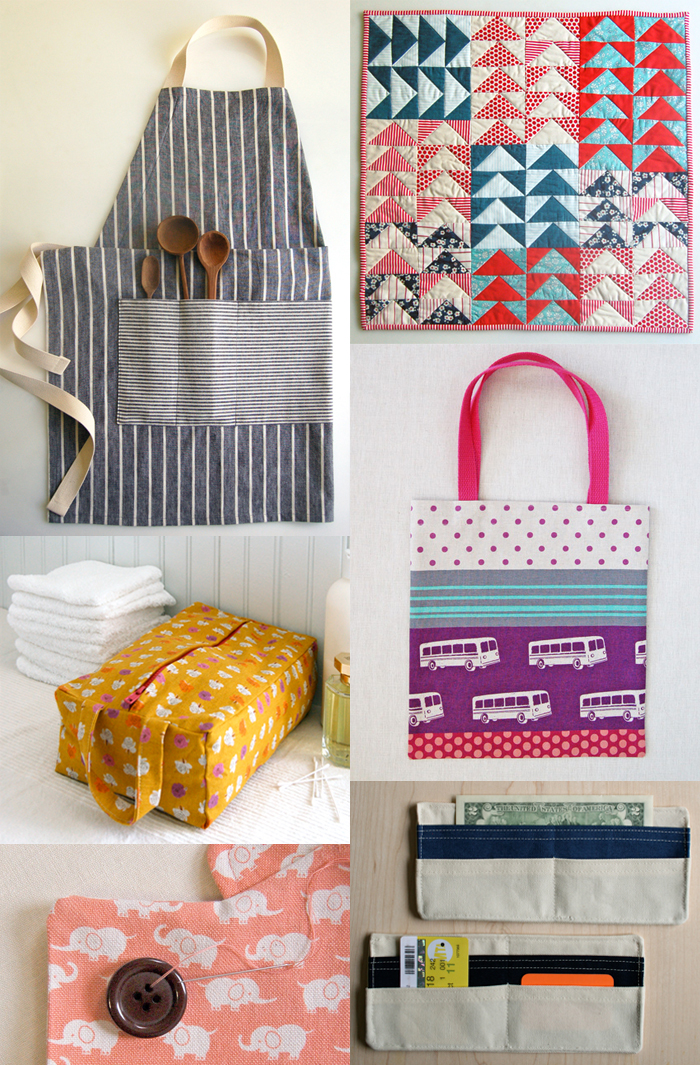
Have you heard of the Purl Bee? It’s a craft blog created by Purl Soho, an awesome fabric and yarn shop in NYC. They publish tons of DIY projects and ideas for you to knit, crochet, sew, stitch and more. I don’t knit or crochet anymore, so I go straight for the sewing projects, and the tutorials I’ve tried have been fantastic! They do a great job showing you the details of each step, and they even show you where you can buy the supplies for most projects.
Above are some of my favorite projects featured on the Purl Bee blog. From top left, clockwise: Adjustable, Unisex Apron / Flying Geese Mini Quilt / Twenty Minute Tote / Summertime Wallet / Sewing on a Button / Zippered Dopp Kitt

